MP3 Player
Overview
For this project my main focus was creating a viable consumer product which is both aesthetically pleasing and fits into a niche which is not often explored; consumer retro tech redesigned to make use modern hardware. In this case the goal was to take a hi-fi media player, capable of things like lossless audio but make it fun and “new” through the use of retro styling.
The Problem
When I play music, I hate that it requires my phones presence and I hate that the audio which plays is either high quality and consumes lots of data (meaning I can’t listen to high quality audio in the car) or it’s low quality and quick. I also hate that downloading my music to my phone takes up tons of storage on a device I store almost my entire life on, from pictures and videos to texts and entertainment. Compound this with the fact that most hi-fi devices are ugly, overcomplicated and expensive, and we have a decent gap in the market. This project was started as part of my Senior Project in highschool, where I interned at a local engineering firm which does product design and manufacturing, they’ve worked with many companies on various products ranging from THULE bike racks and Ninja Pressure Cookers, to military helmets, and medical devices. As part of this I worked with Nate, a mechanical engineer who worked at Tool, to pick a project and attack it through the lenses of the different pipeline stages which are used at Tool, from talking with industrial designers about human centric and ergonomic design principles to working with electrical engineers to avoid common pitfalls of prototyping circuits.
The Solution
A media player that fits in your pocket with a ton of storage that DOESN’T take up your phones precious storage, its a one-time expense unlike spotify that you don’t have to pay off until you die, you load it with the songs you want and play them, no ads no weird shuffling that prioritizes certain labels, it just plays music. No wifi required, so if you're outdoors in remote locations (or even just Vermont which has horrible cell coverage), no problem.
Product Design Sketches
Below is some of the initial sketching from when I first had the idea for this project on a flight to Michigan, I wanted this project to be very “design forward” so I focused a lot on its aesthetics, and as someone who’s been doing both engineering and art for a while, it was really interesting to take two of my passions and bring them together, both in being an artist under constraints and an engineer concerned with making something beautiful.
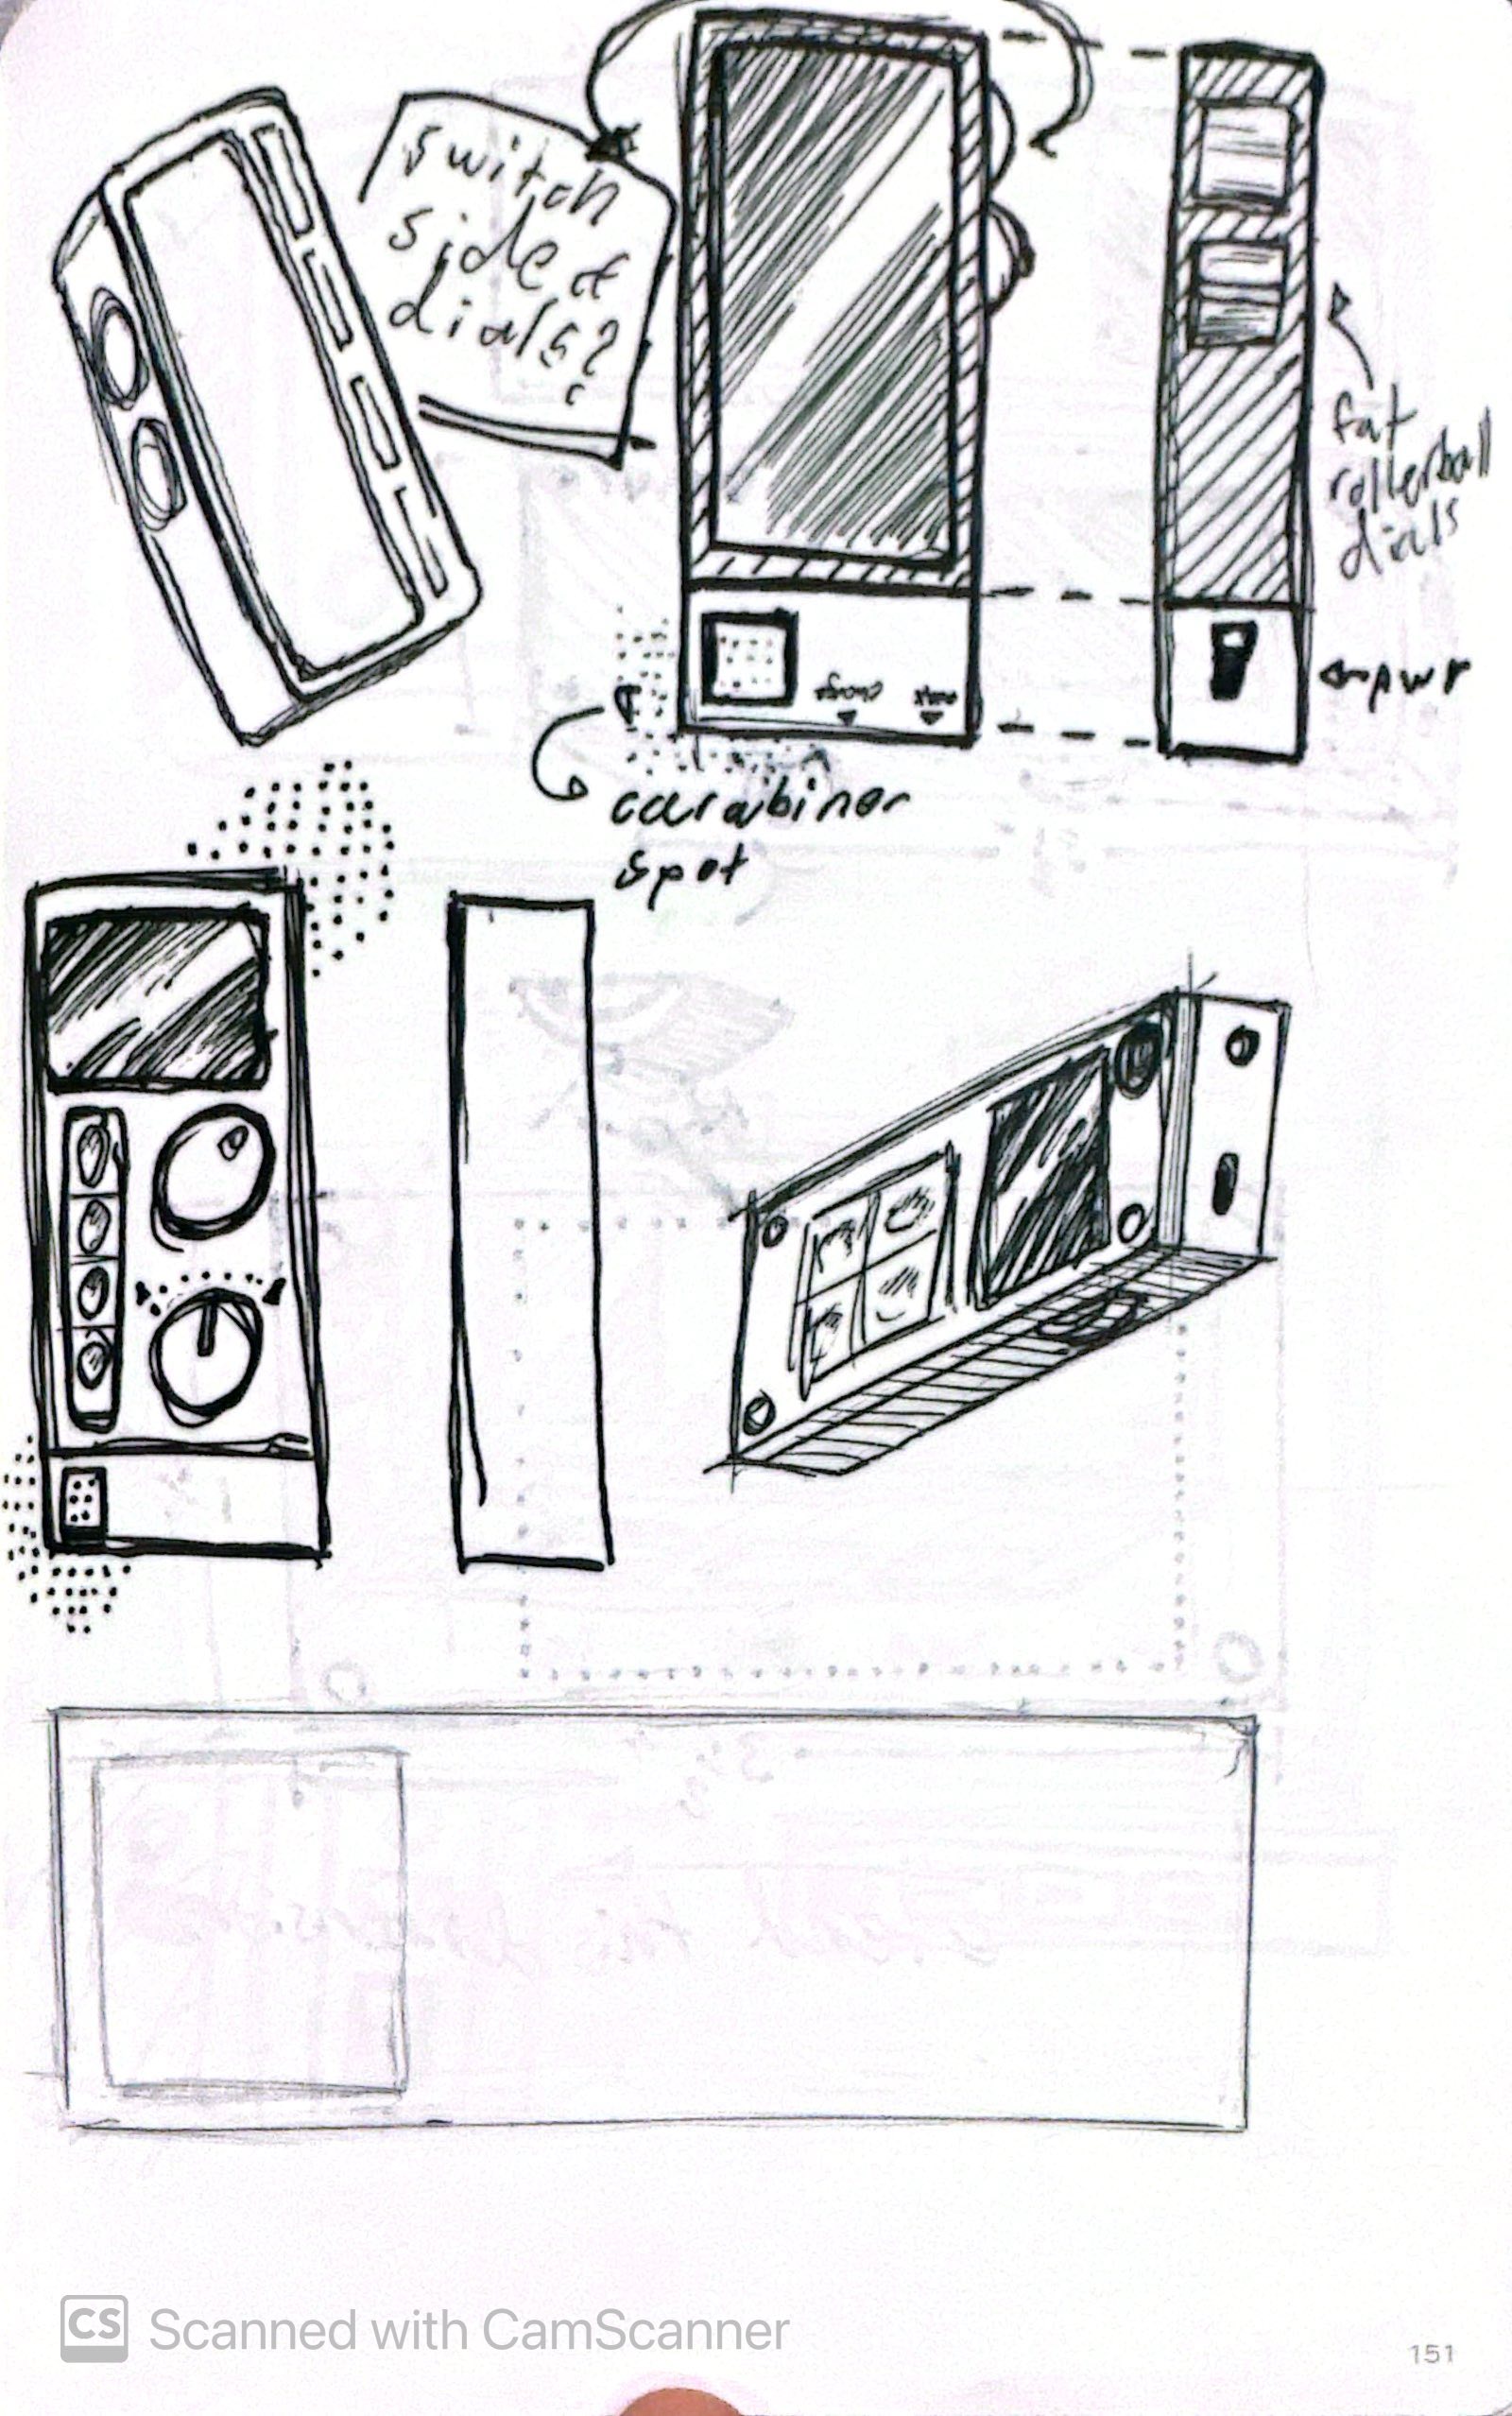
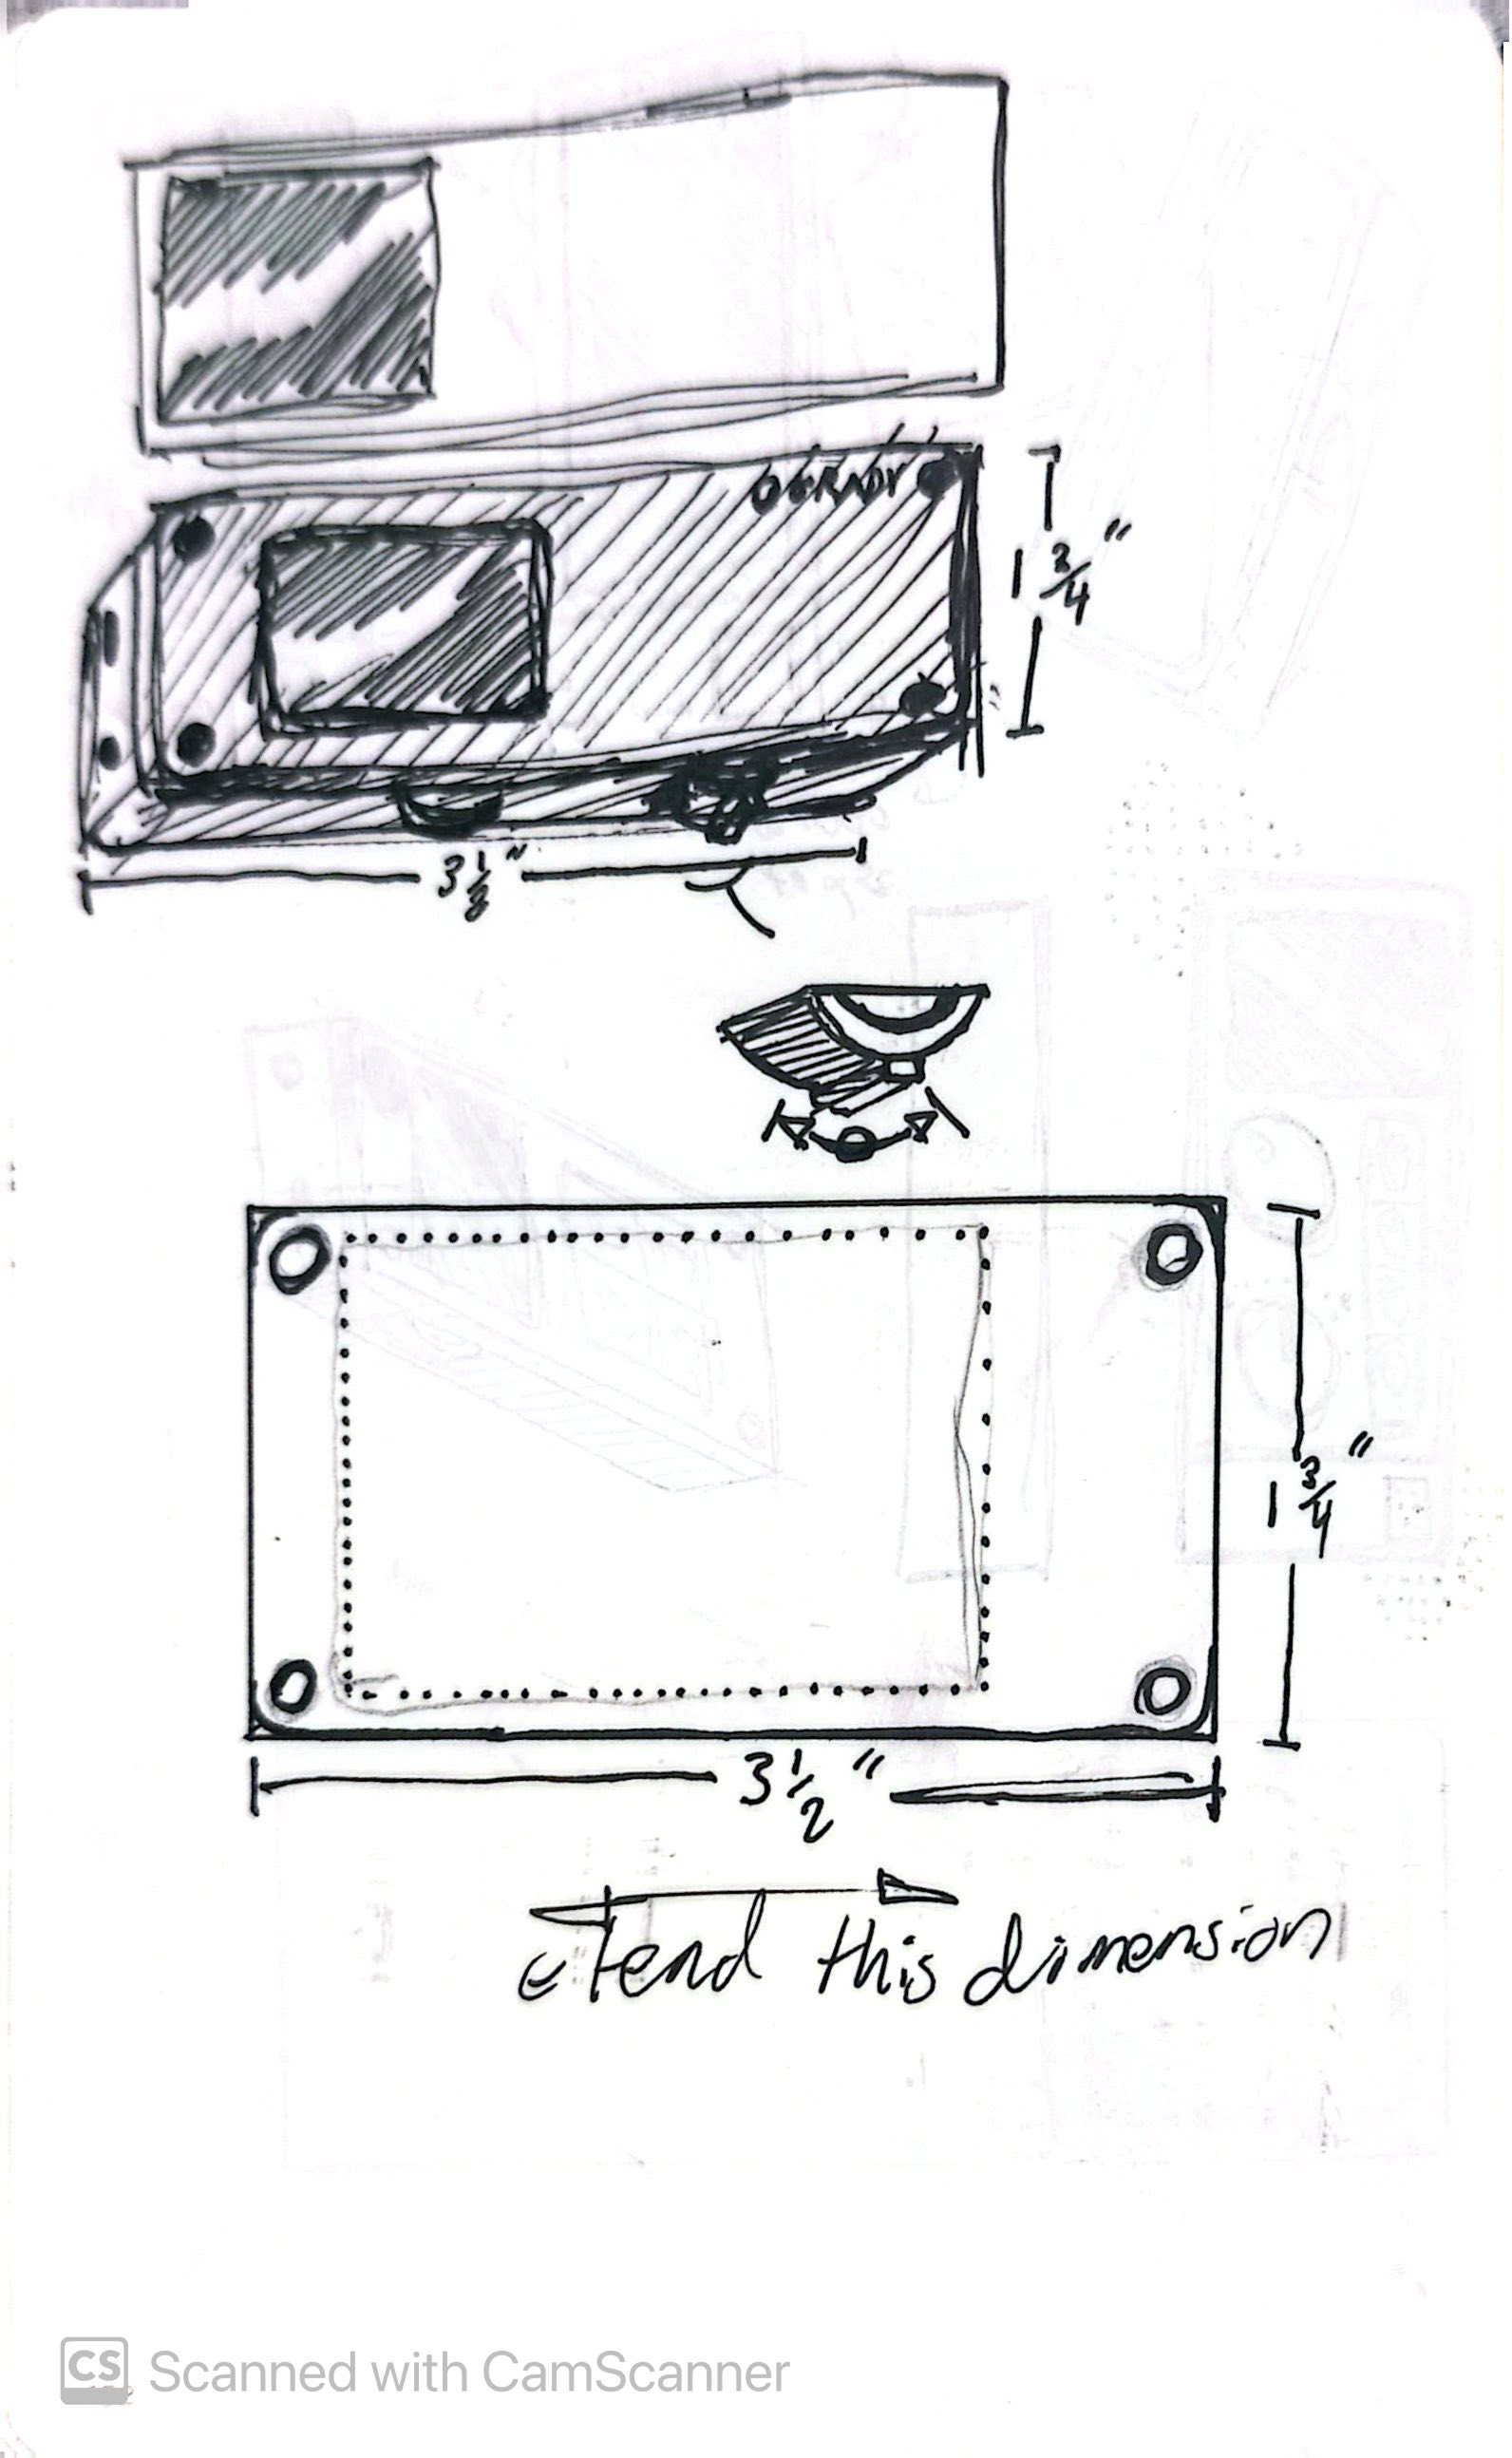
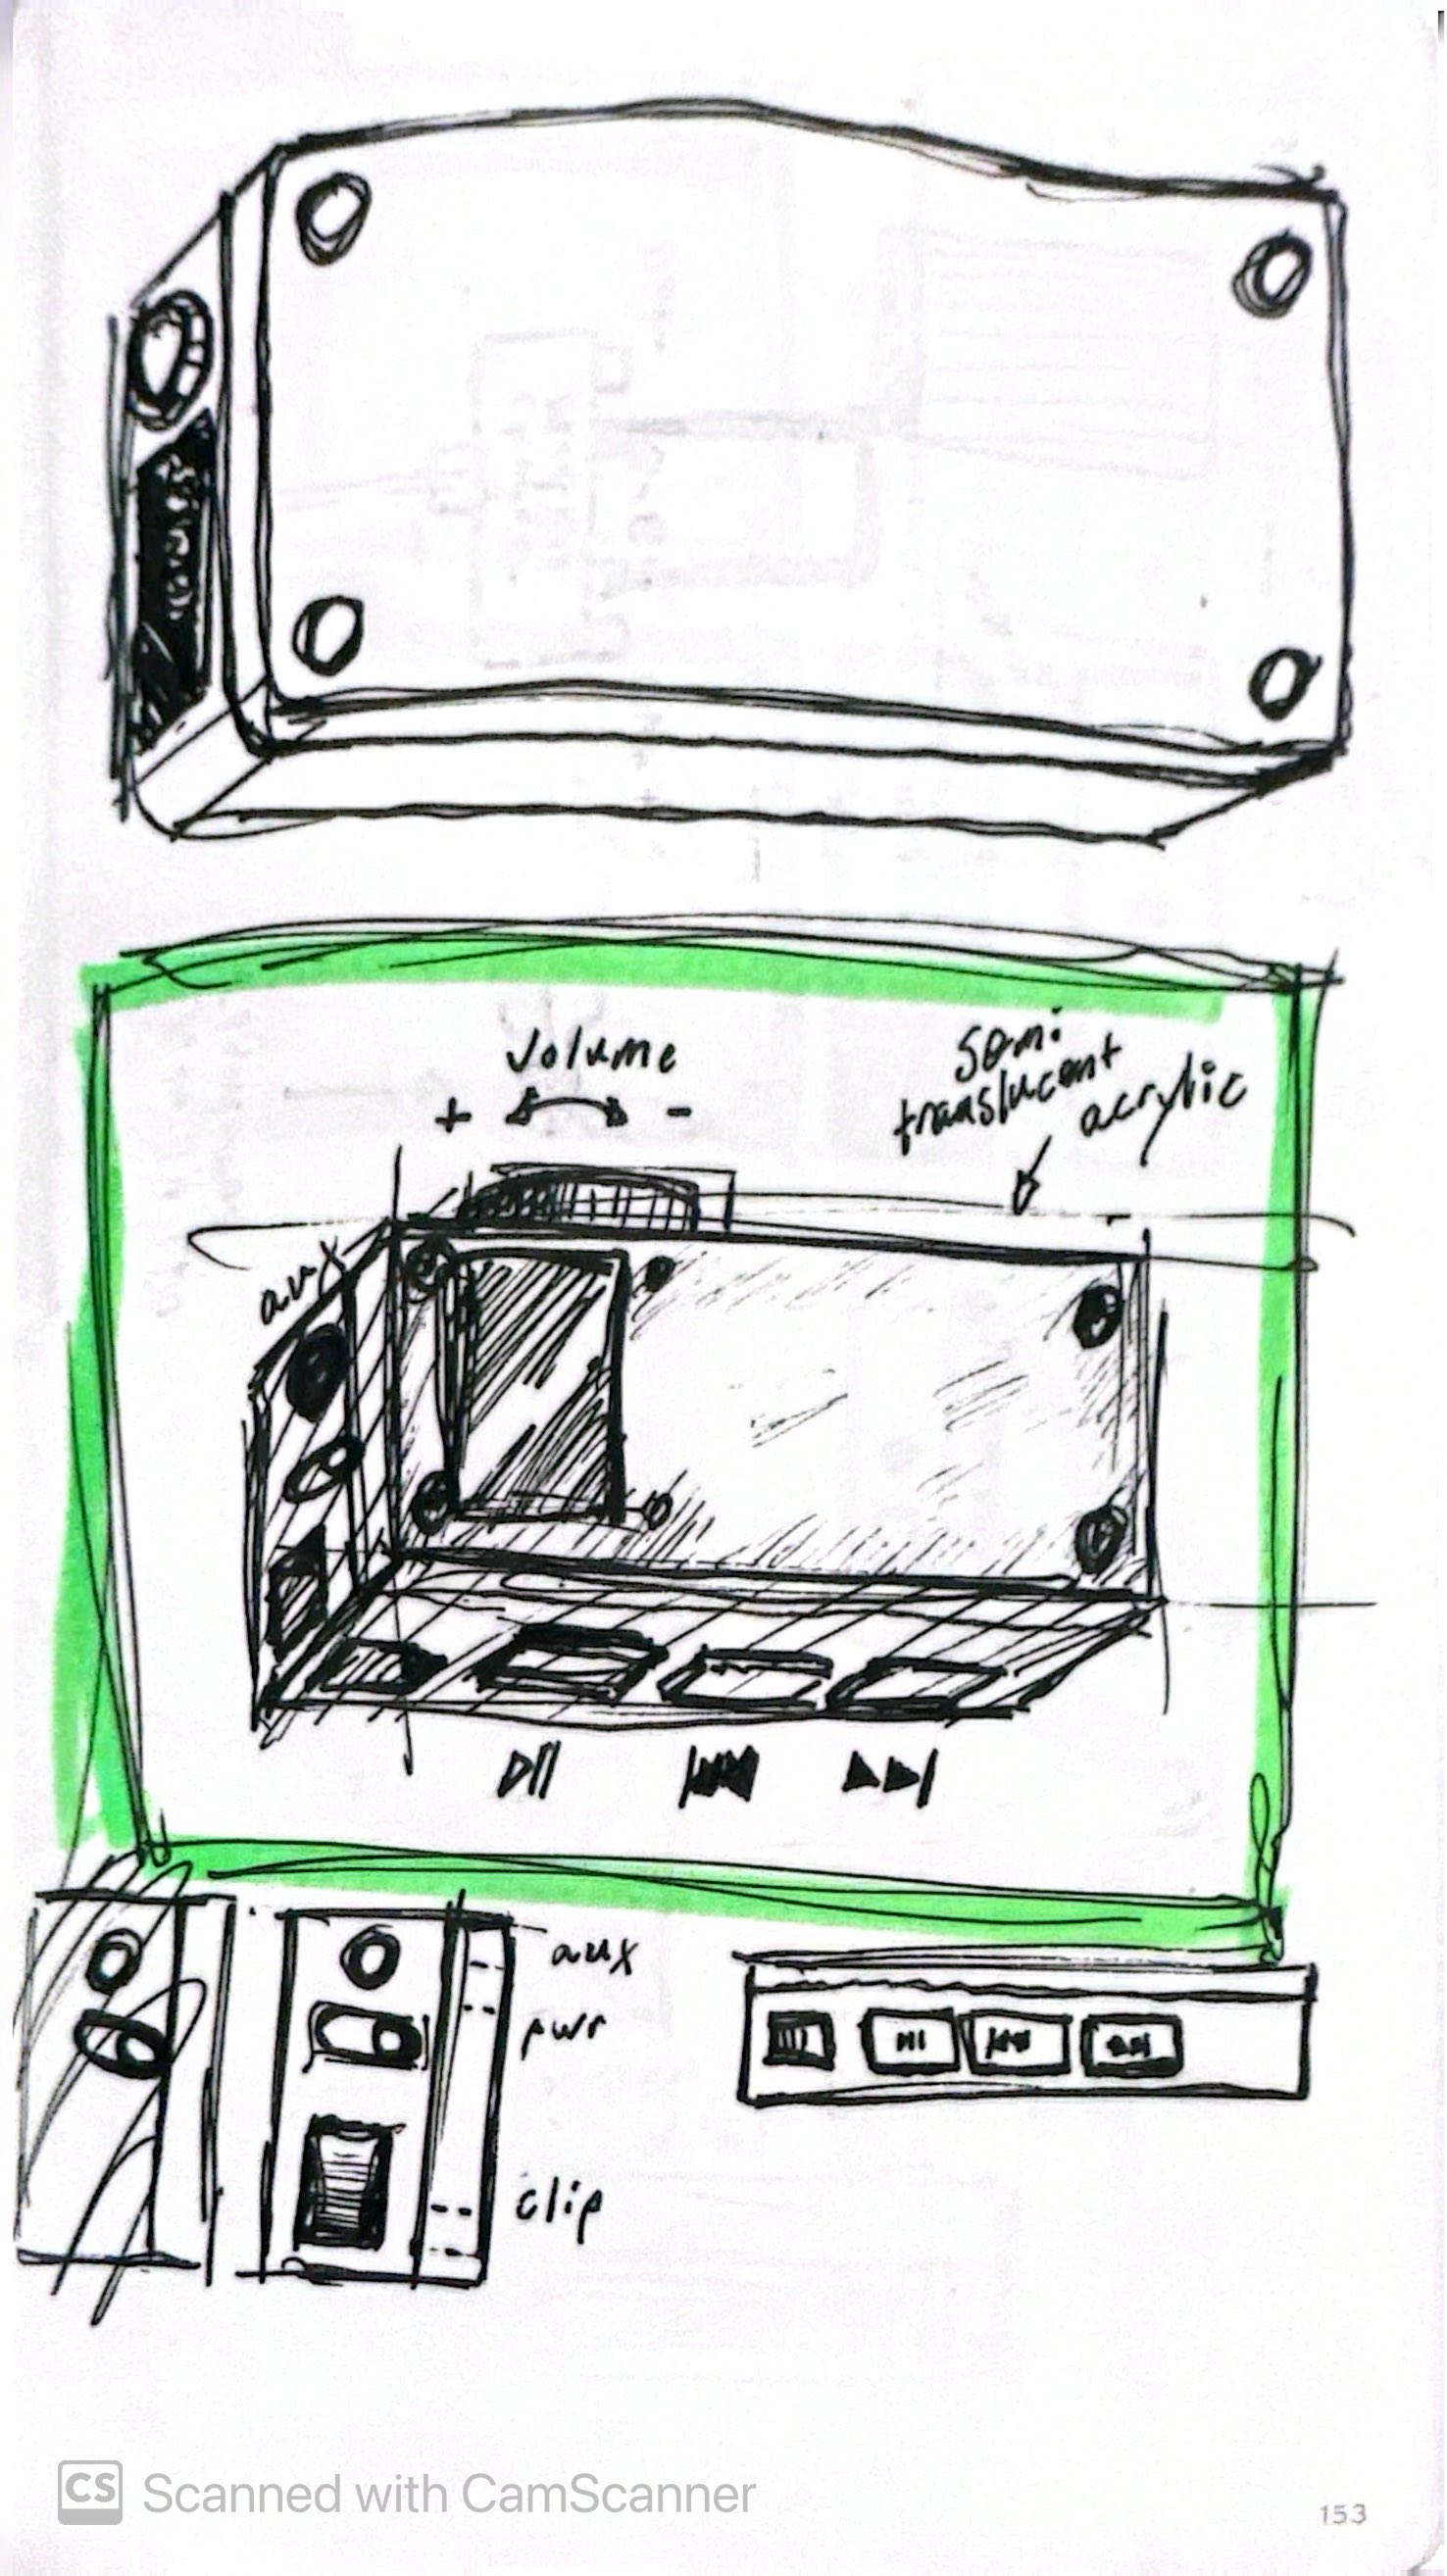
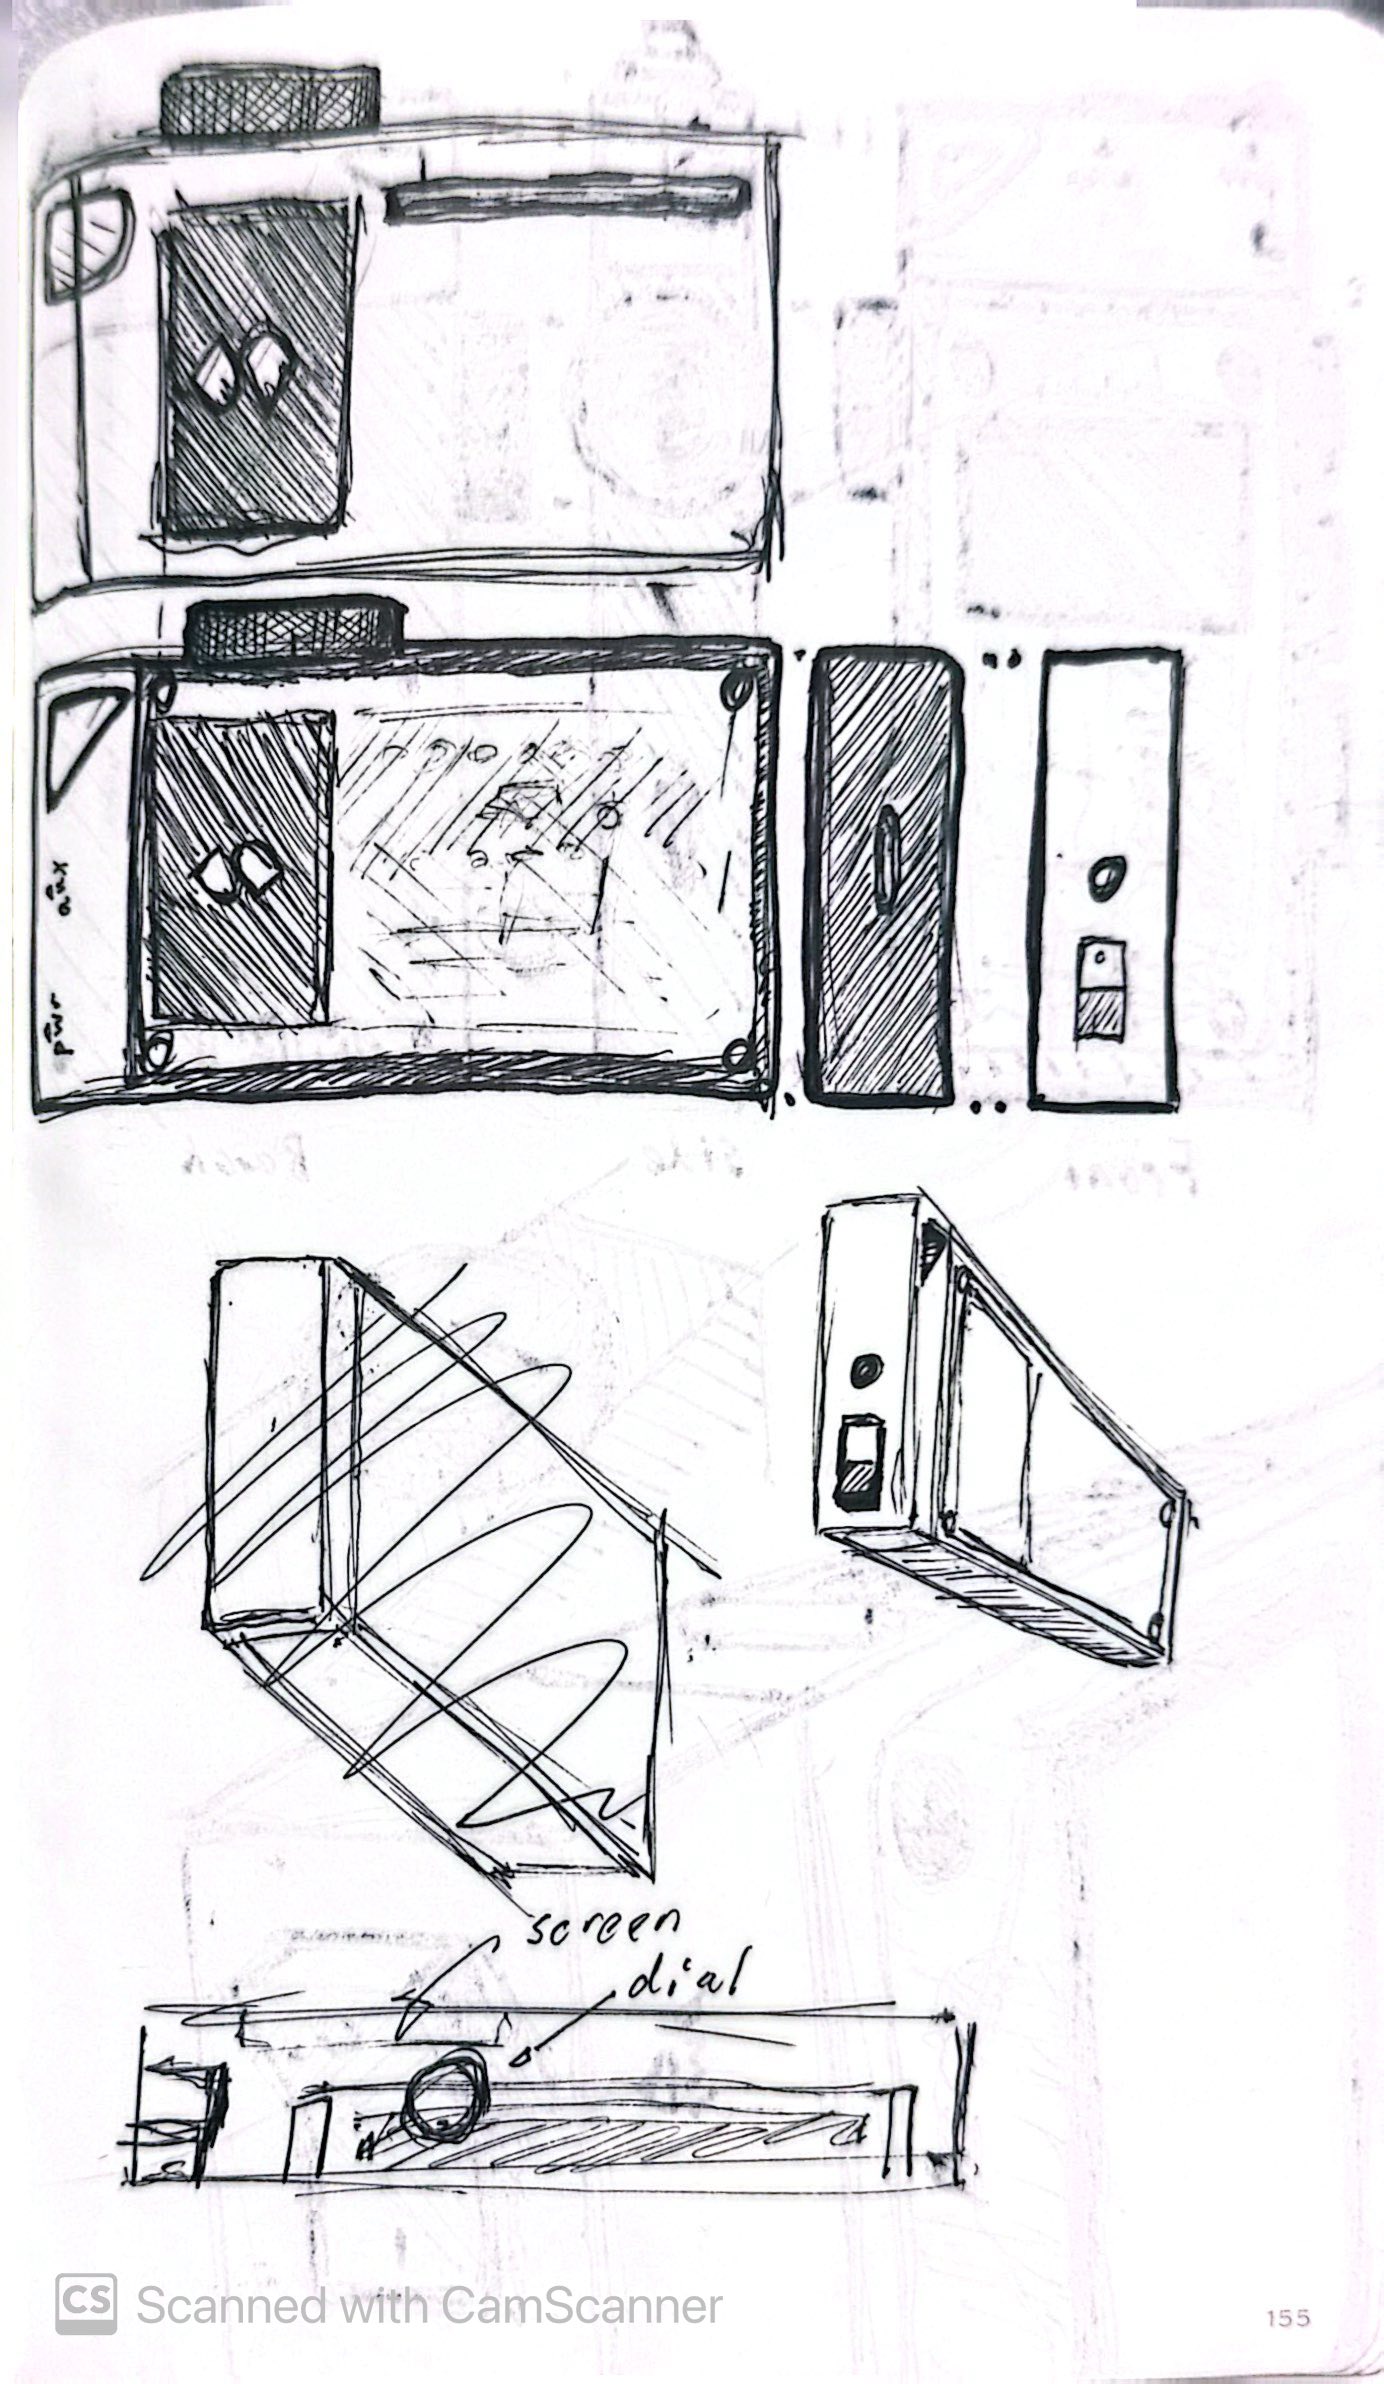
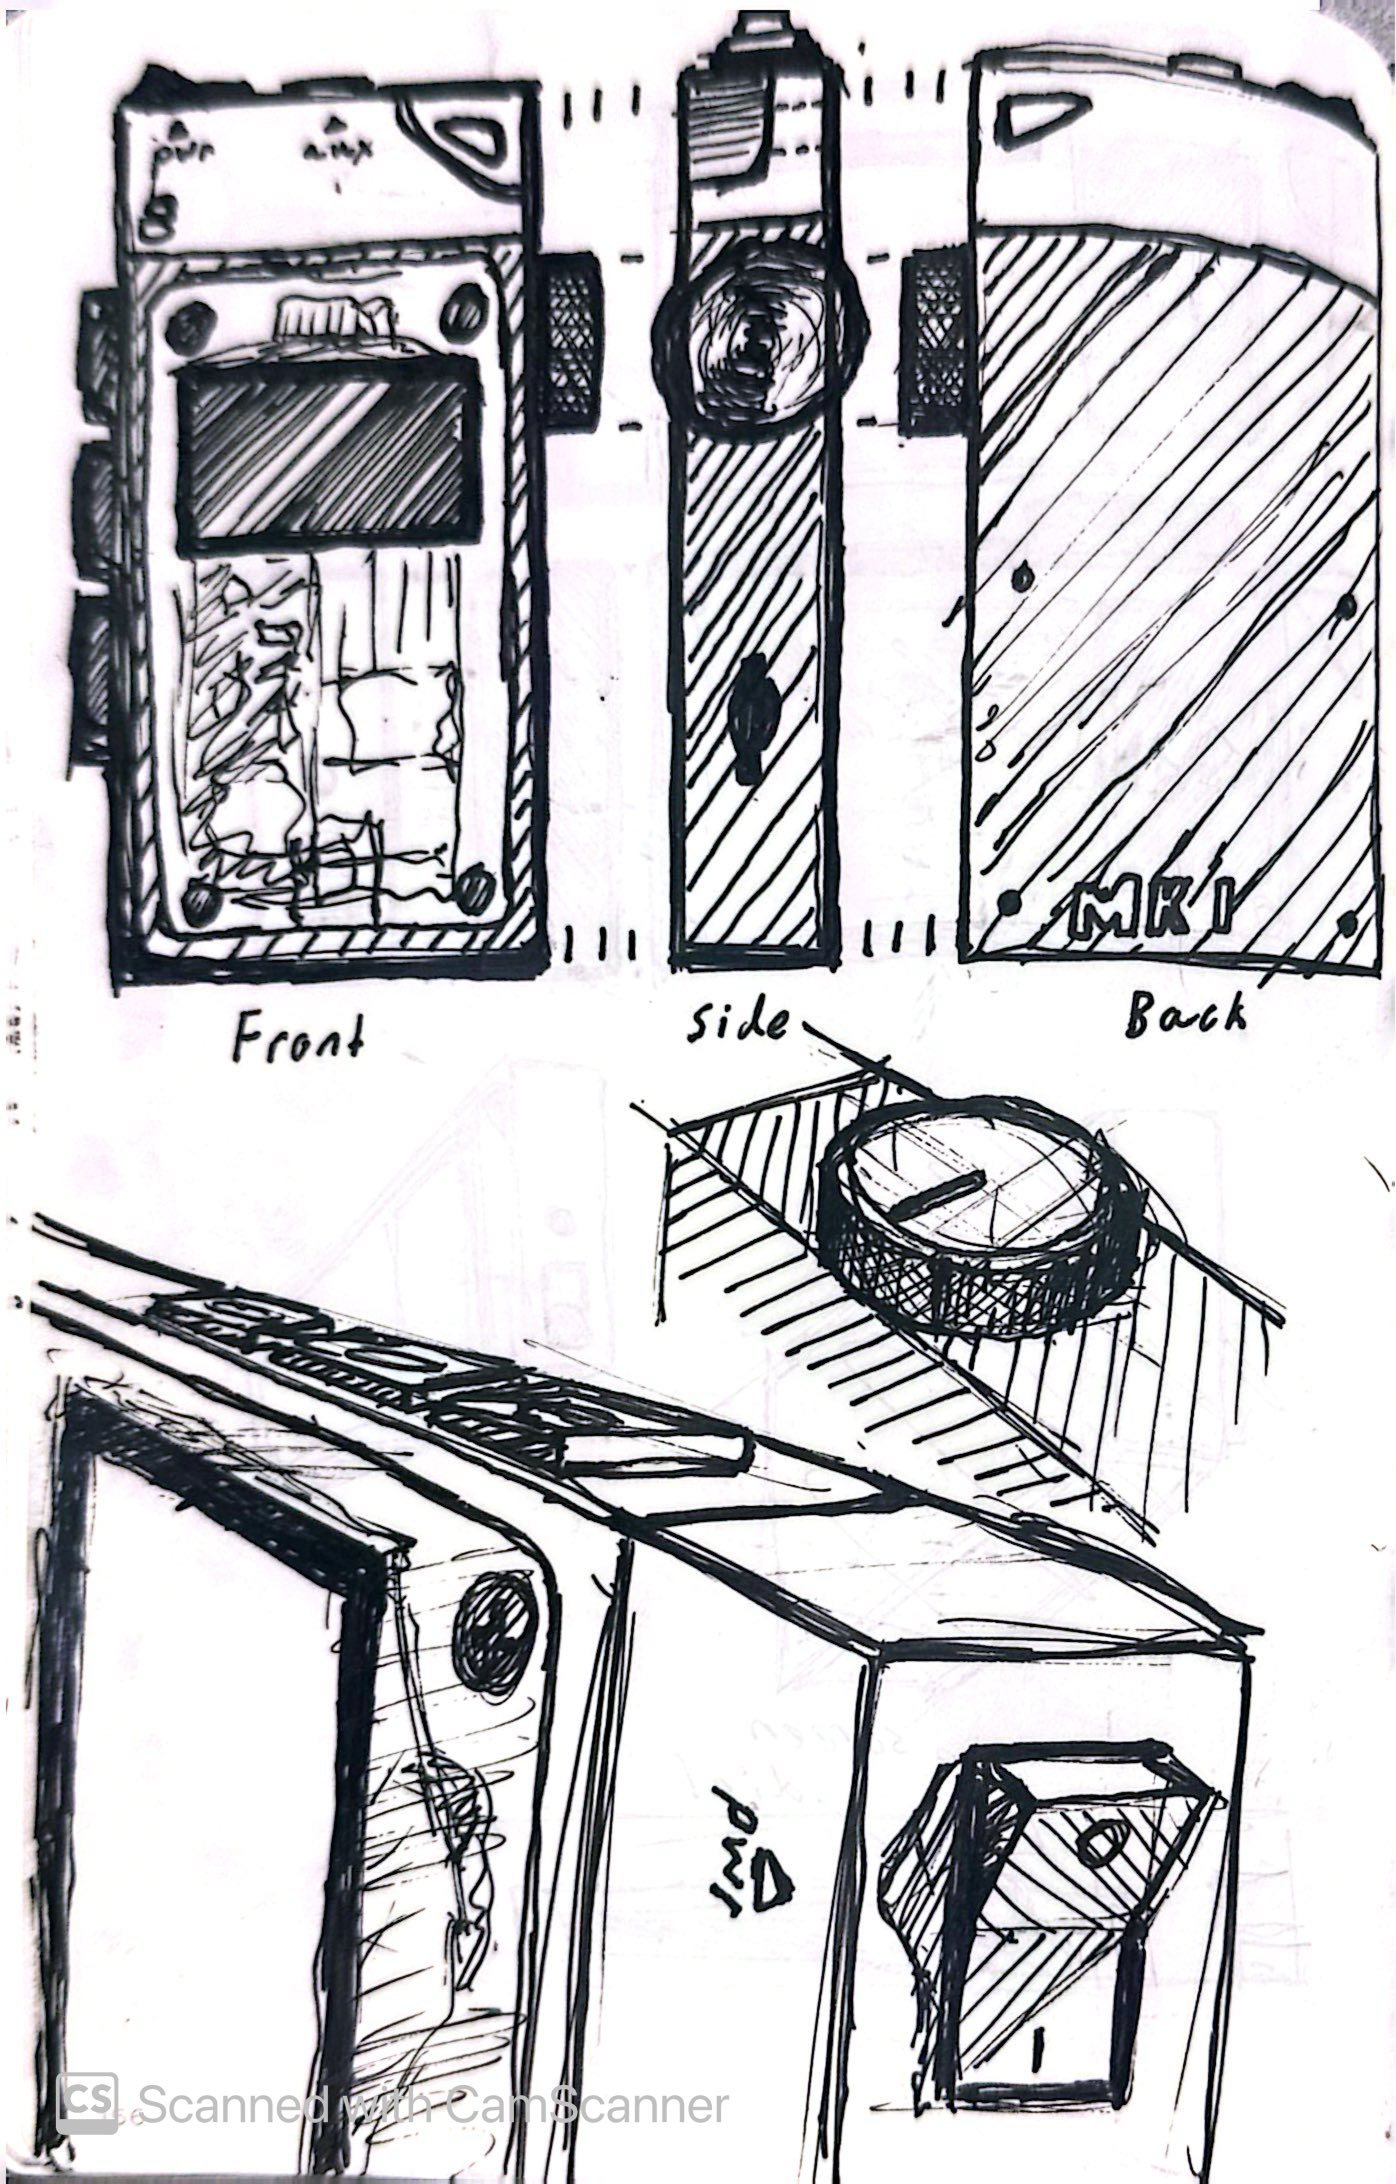
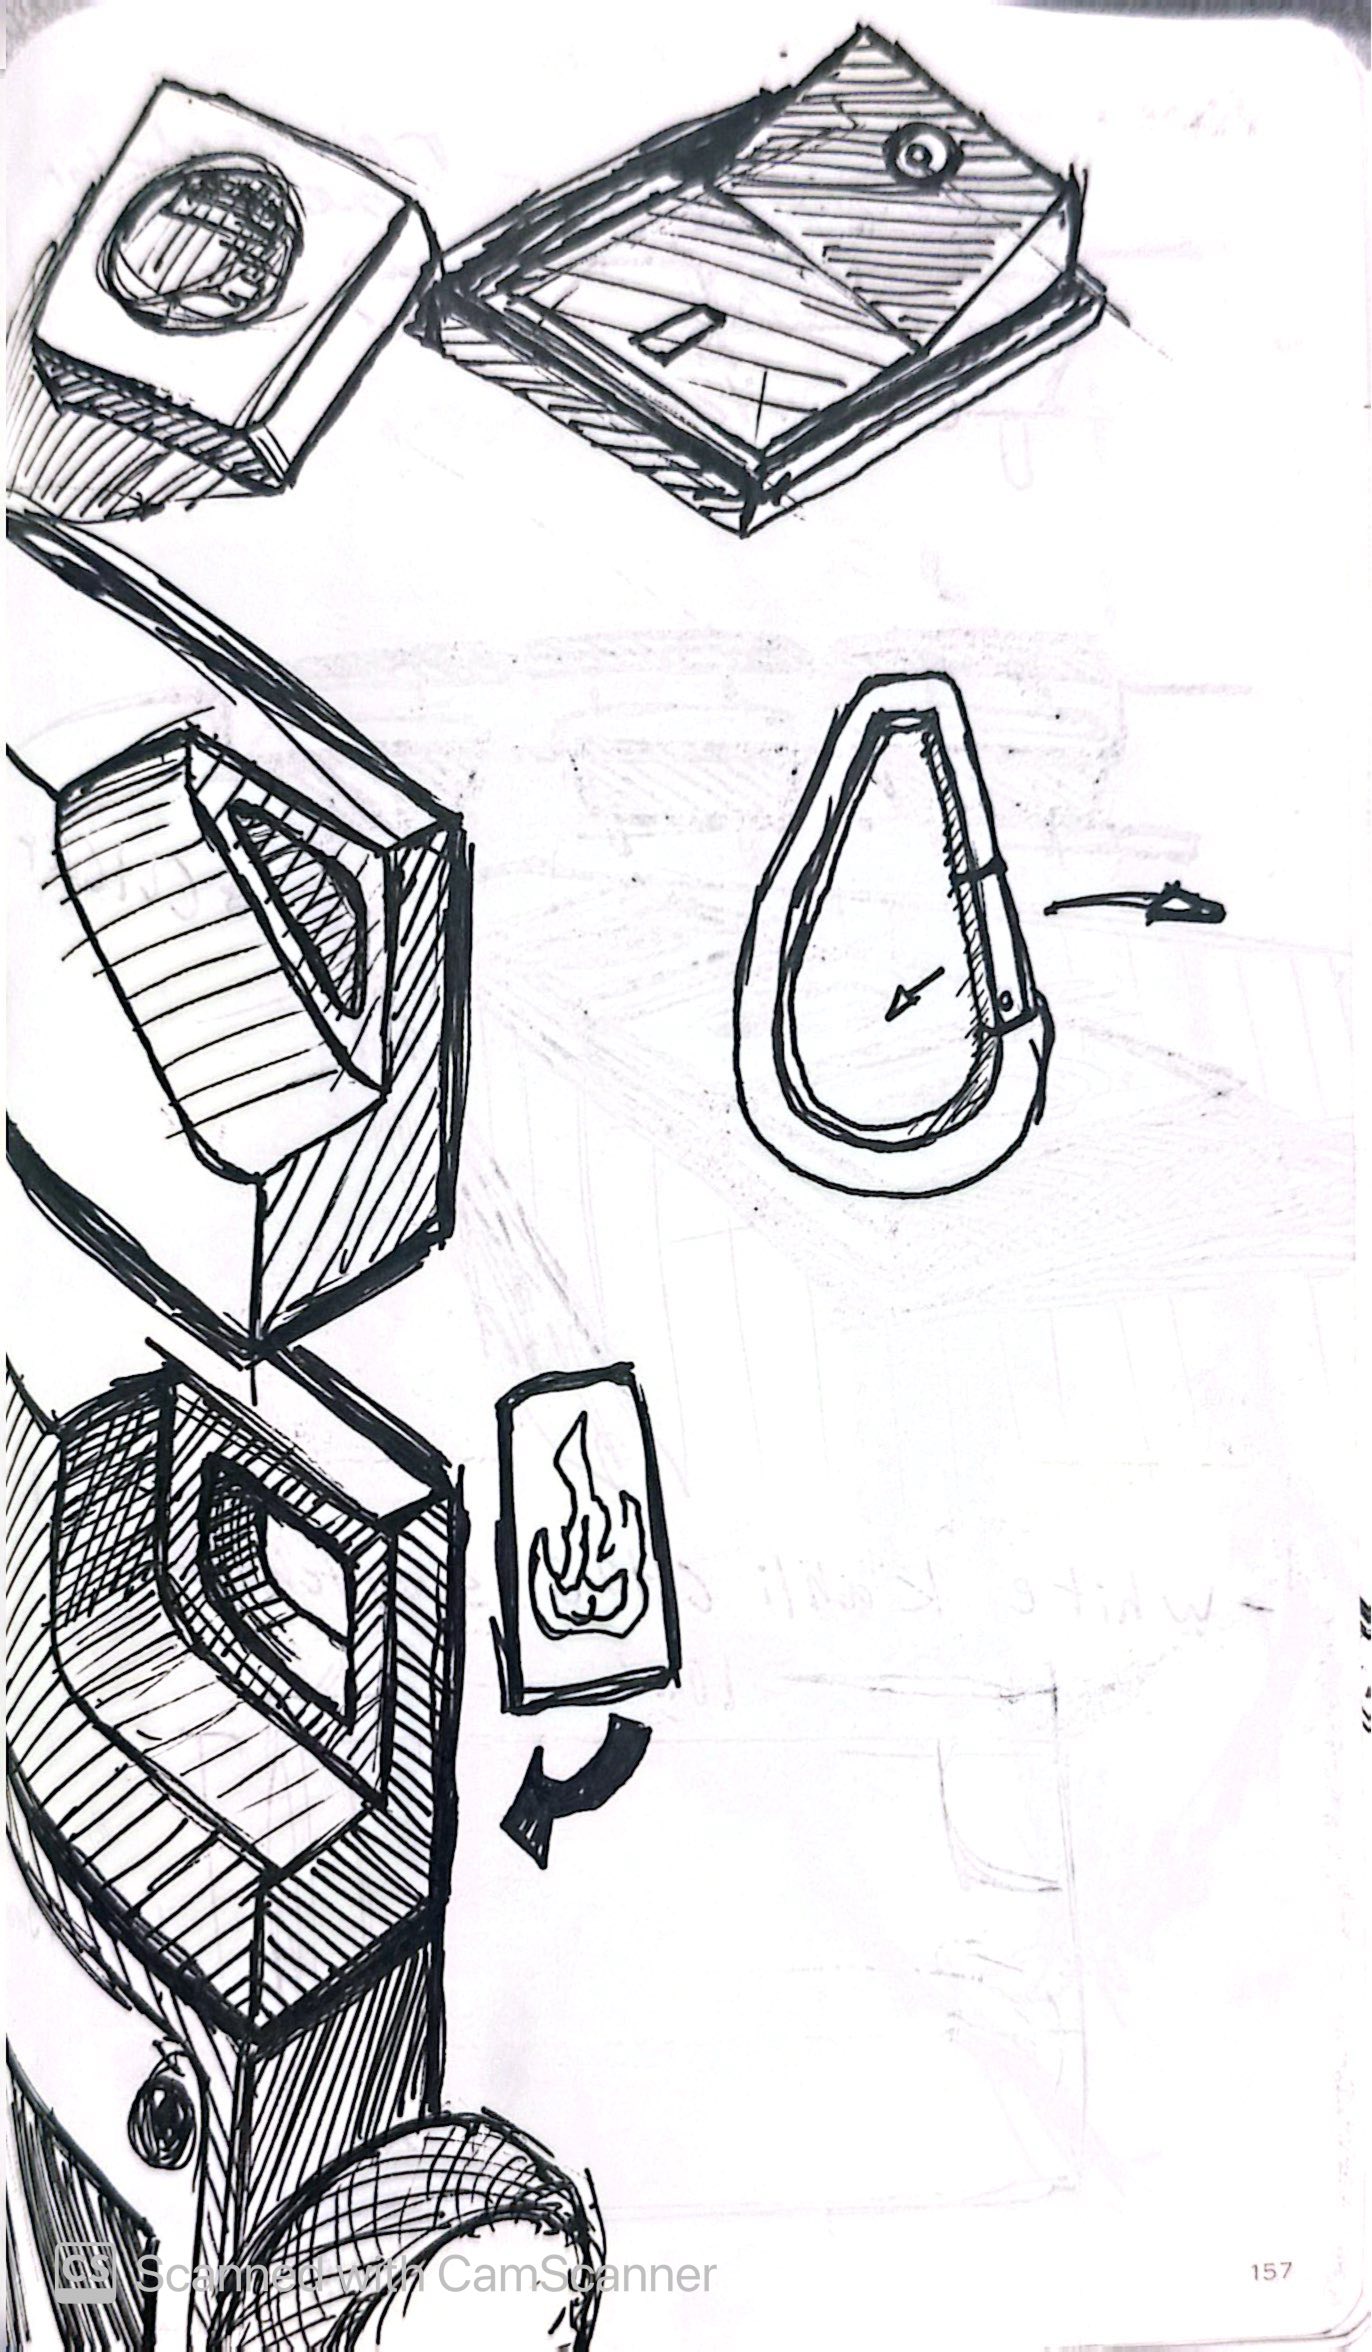
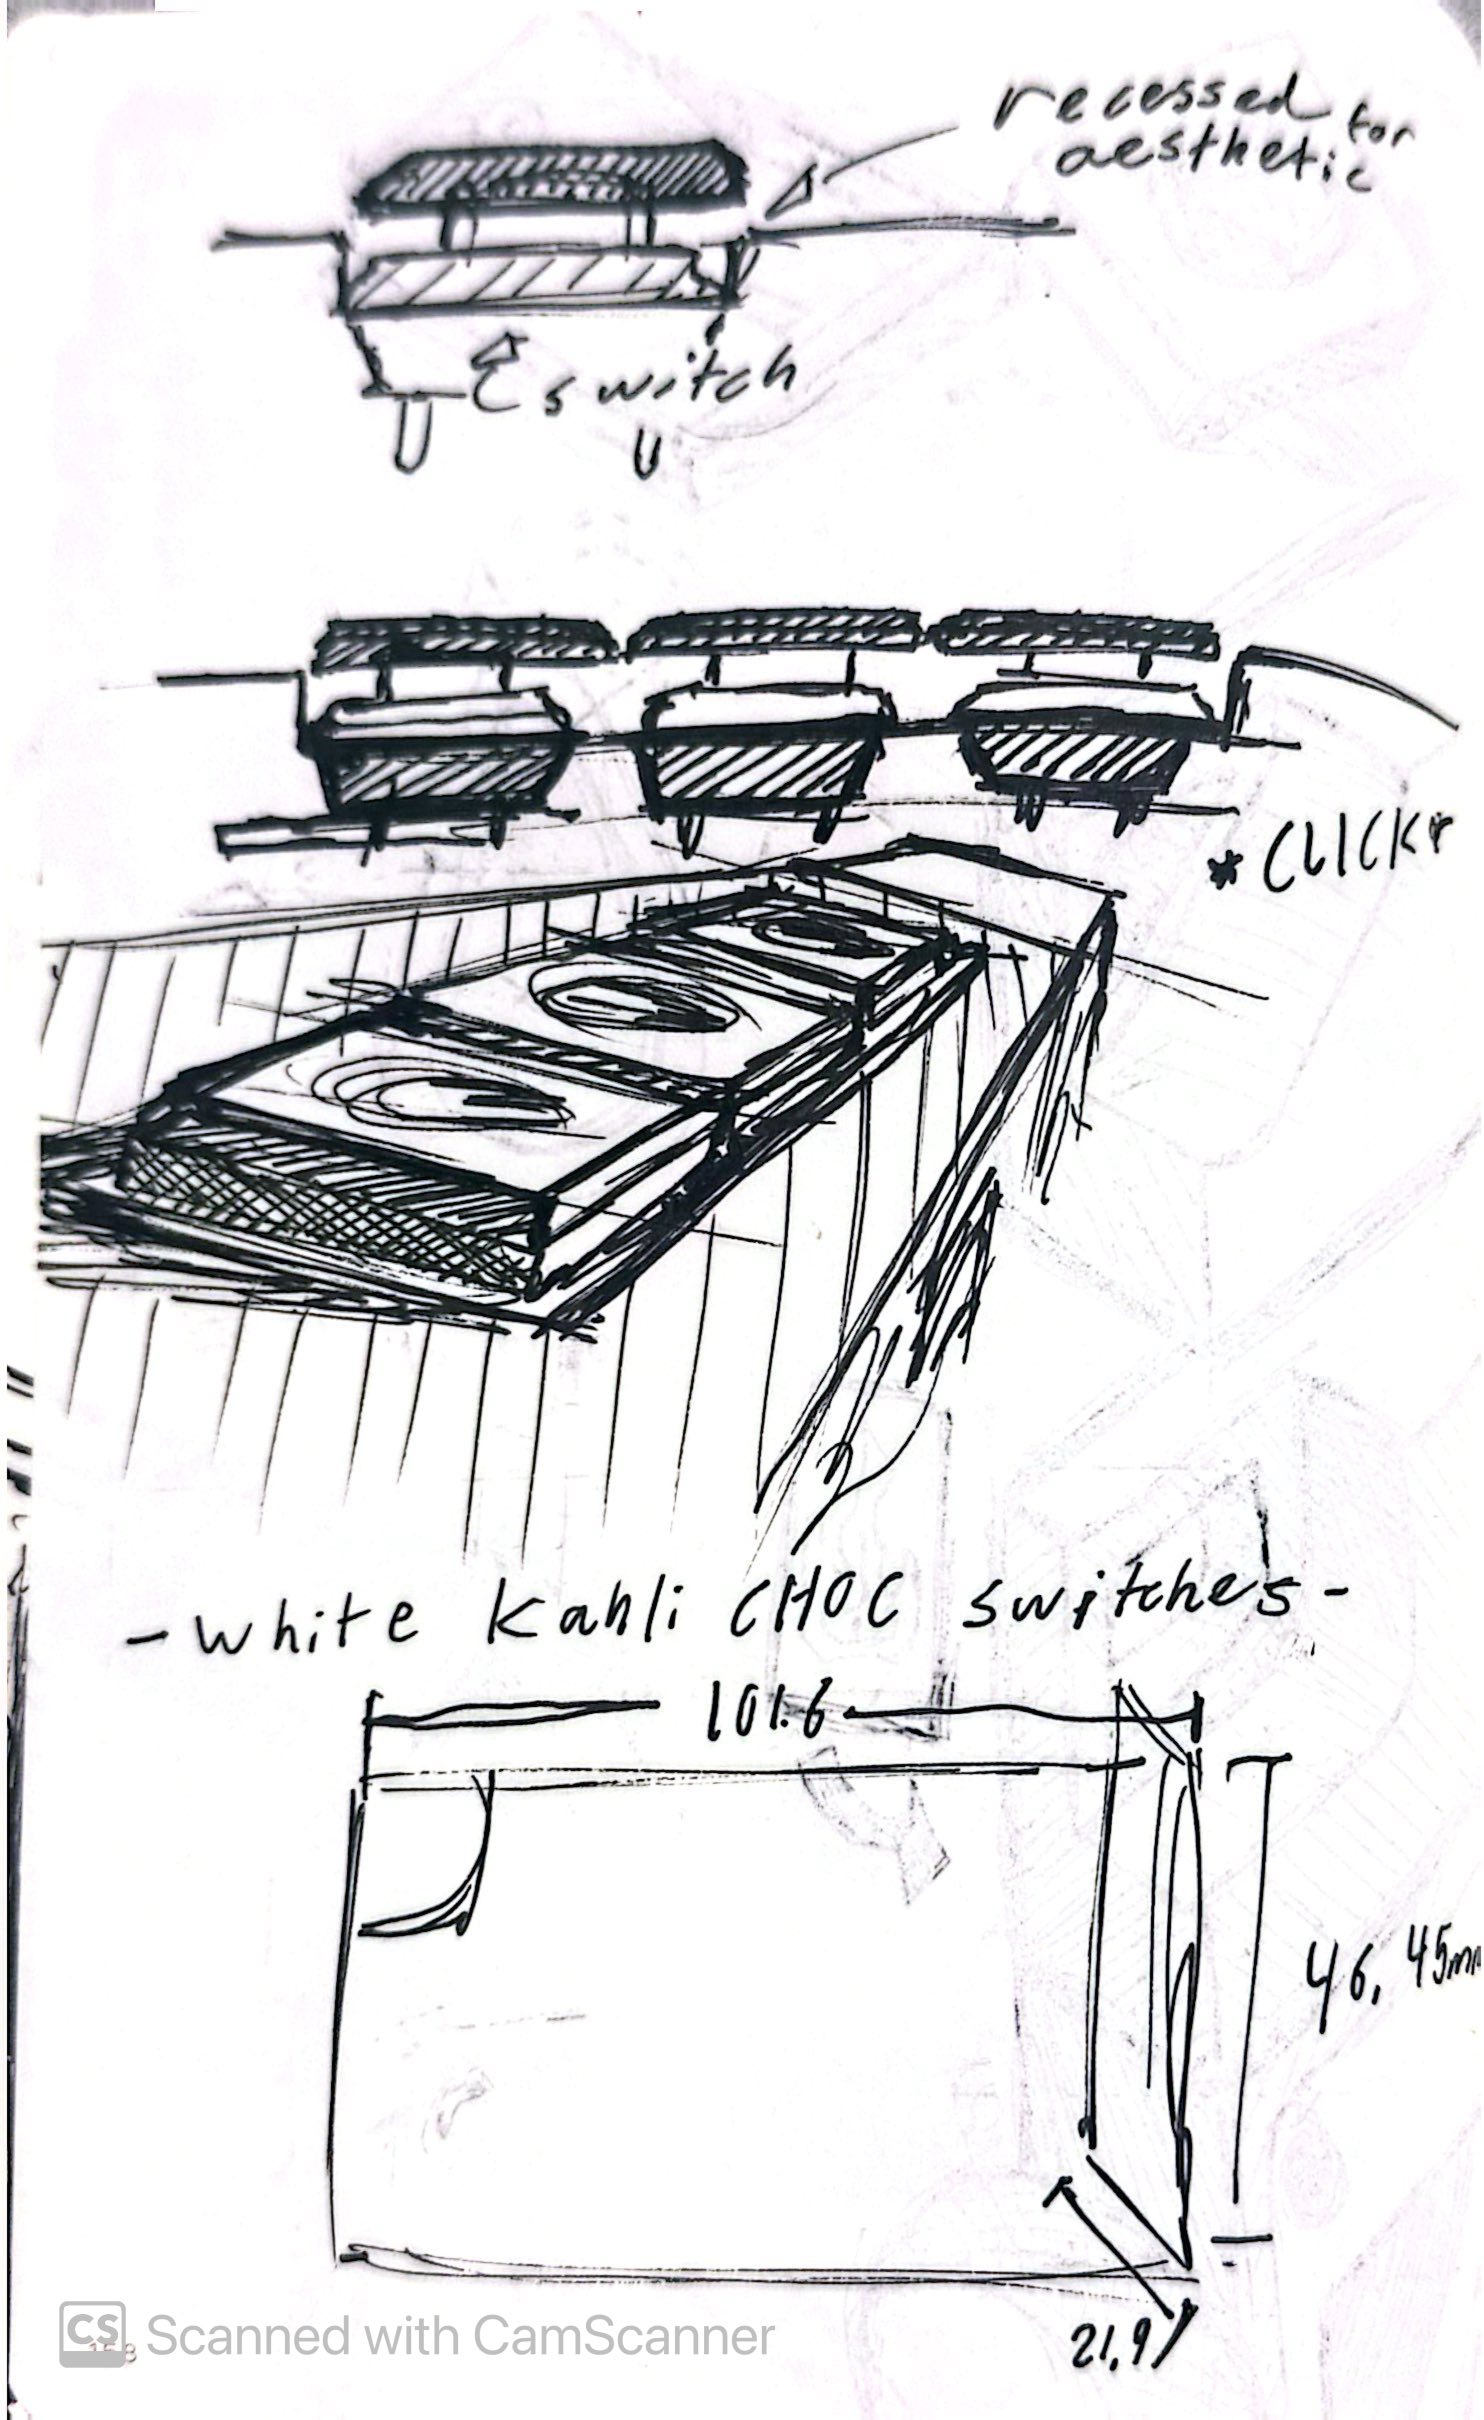
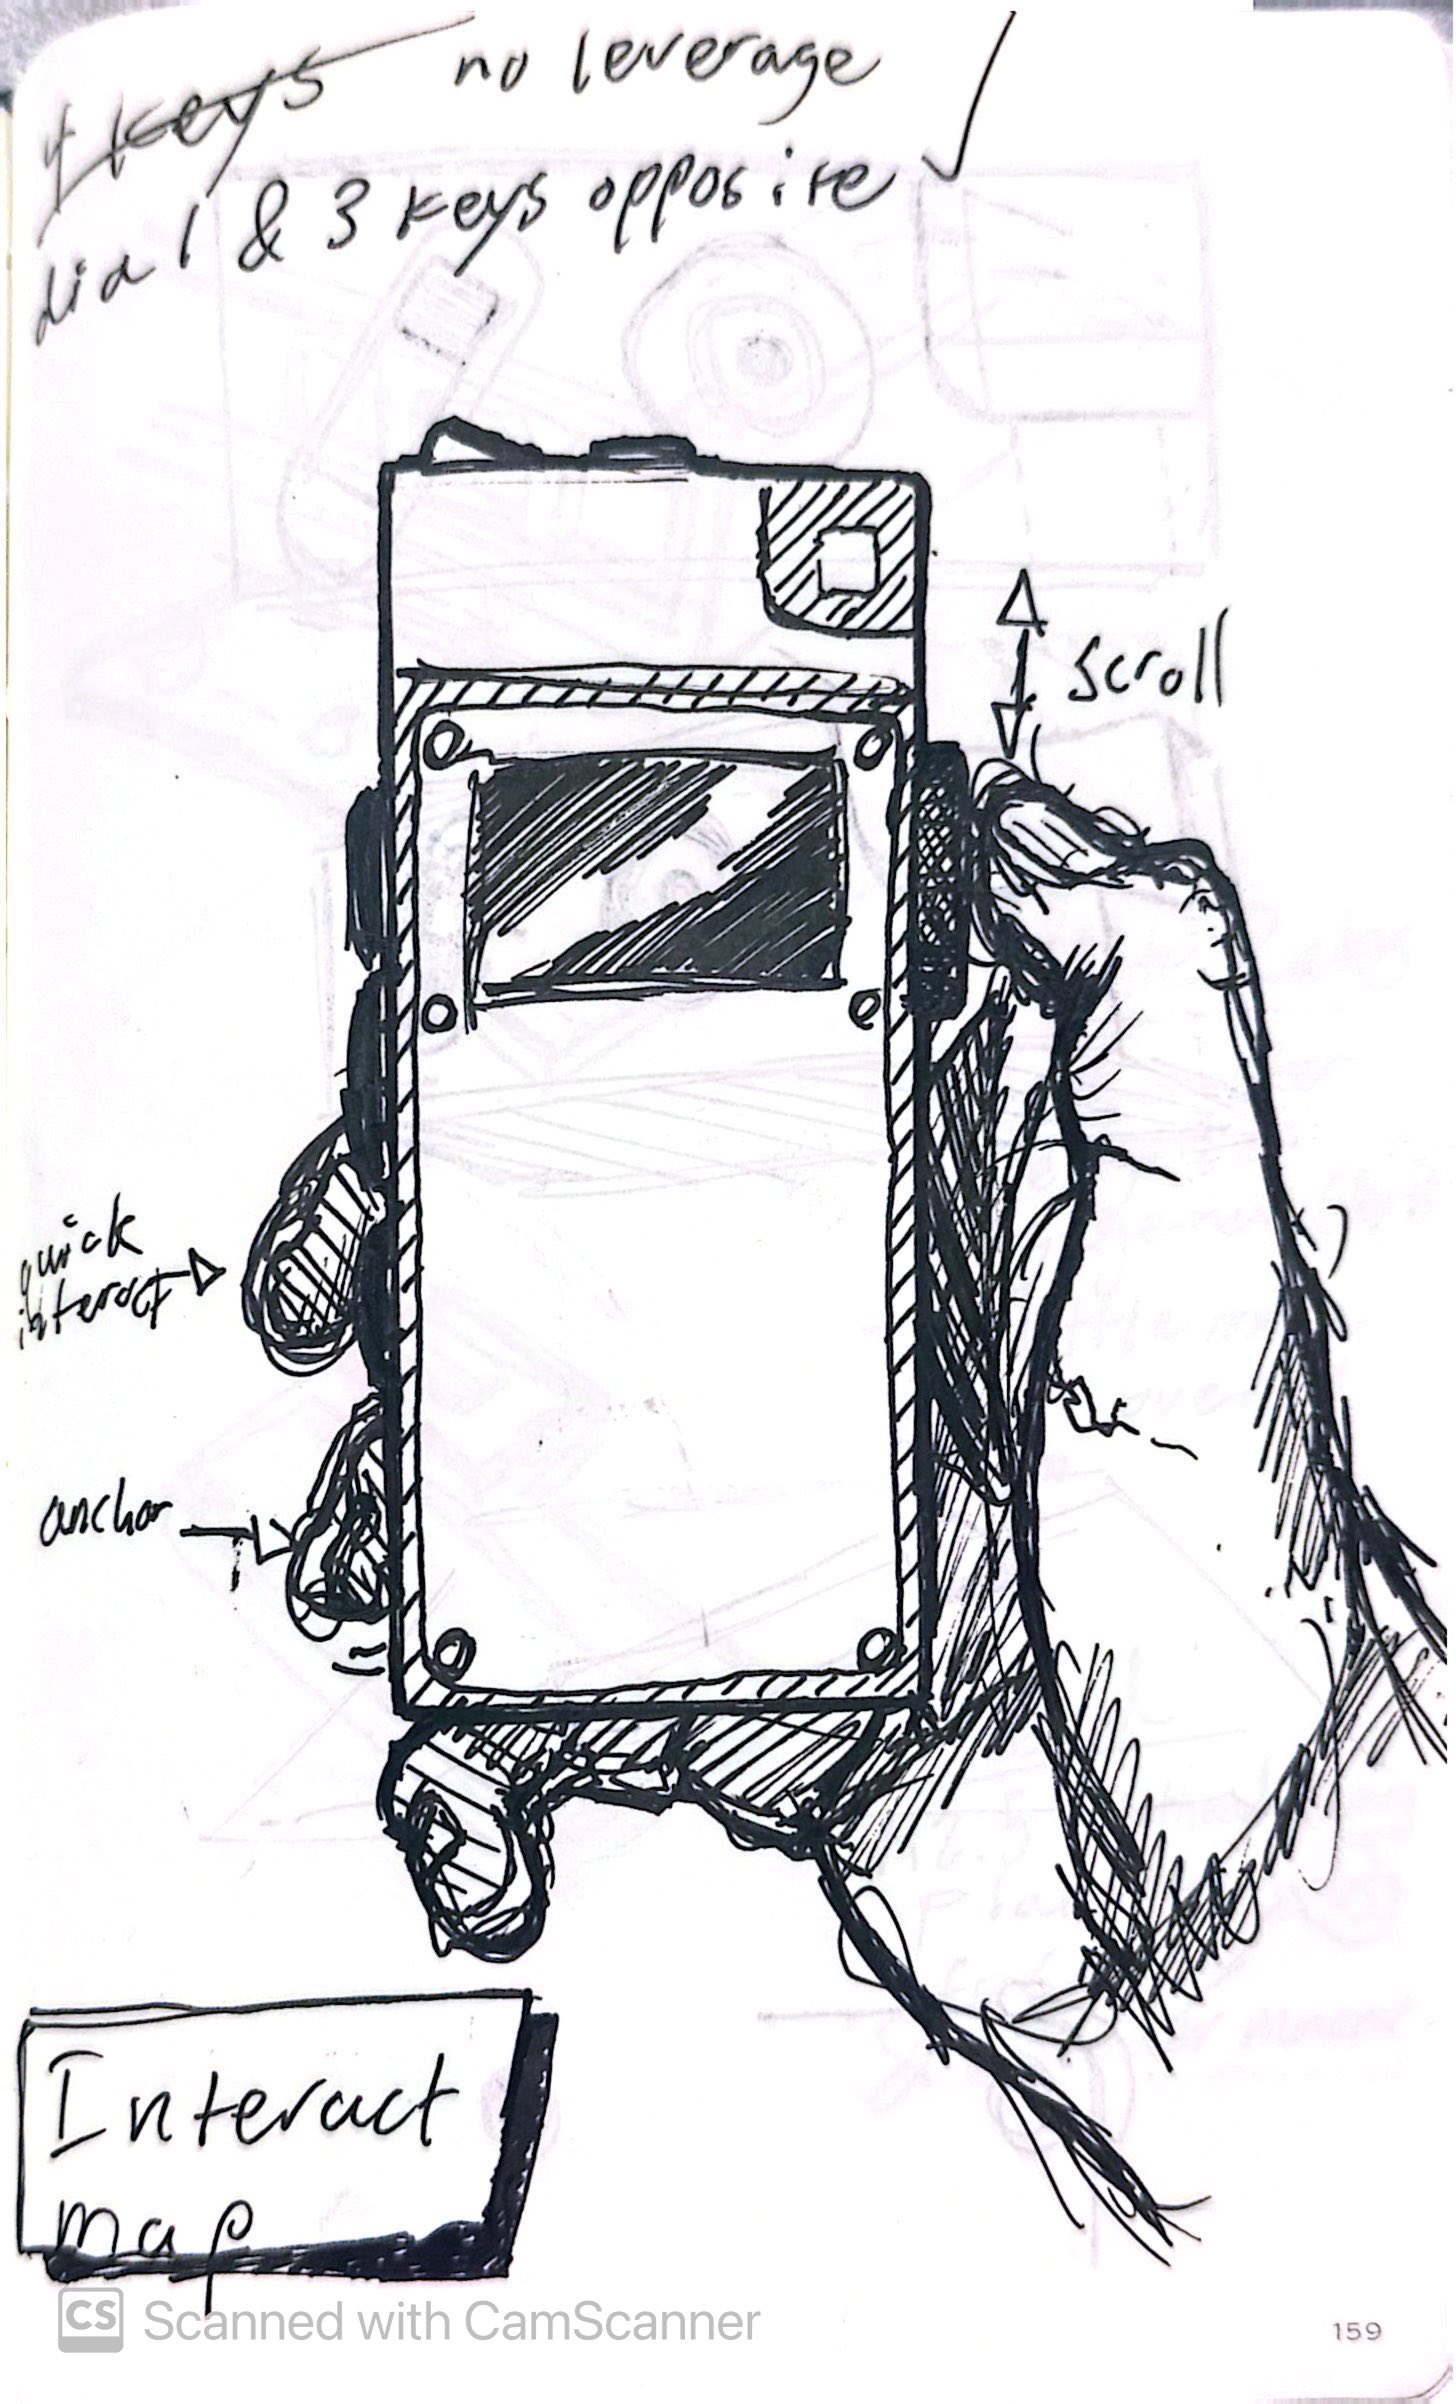
You can see that the design becomes more refined over the course of these sketches, although most of the sketching is not shown as there's simply too many (pretty bad) sketches as I just explored the idea from as many vastly different angles as possible.
CAD Design
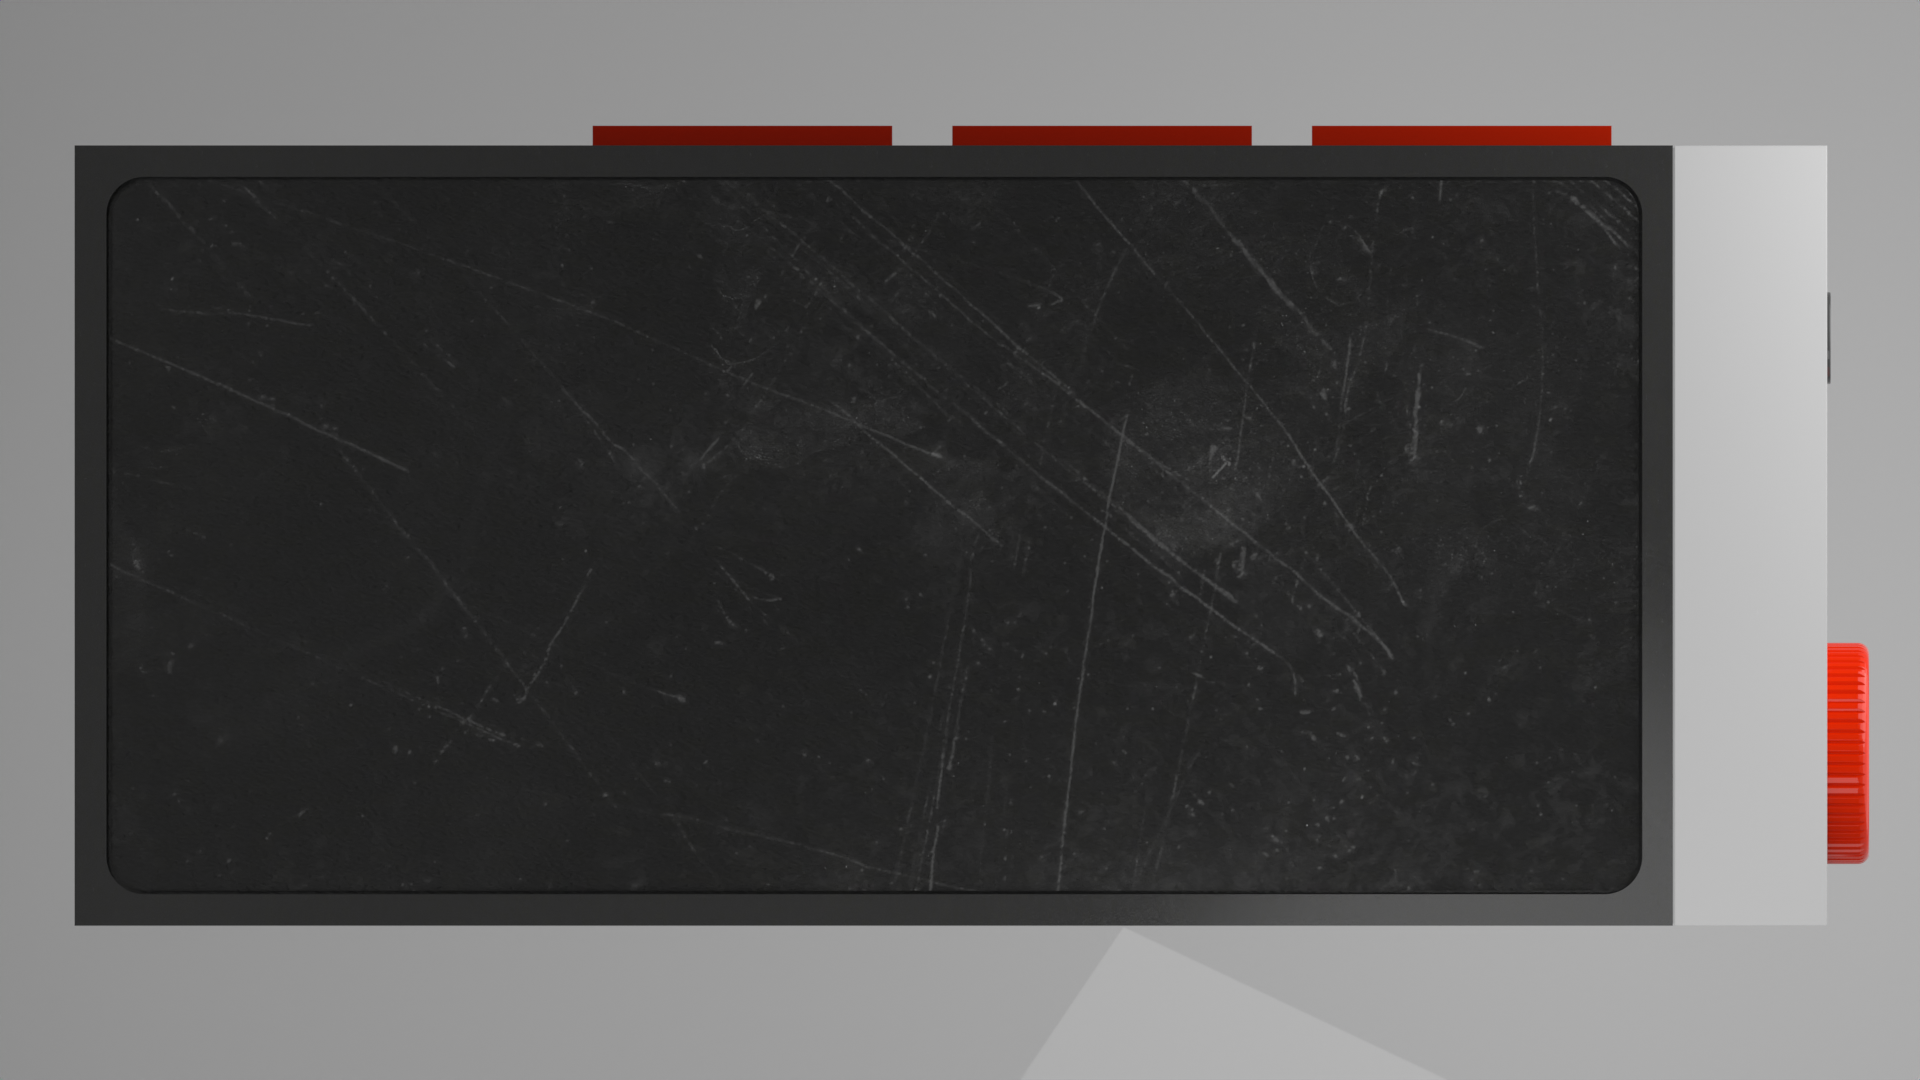
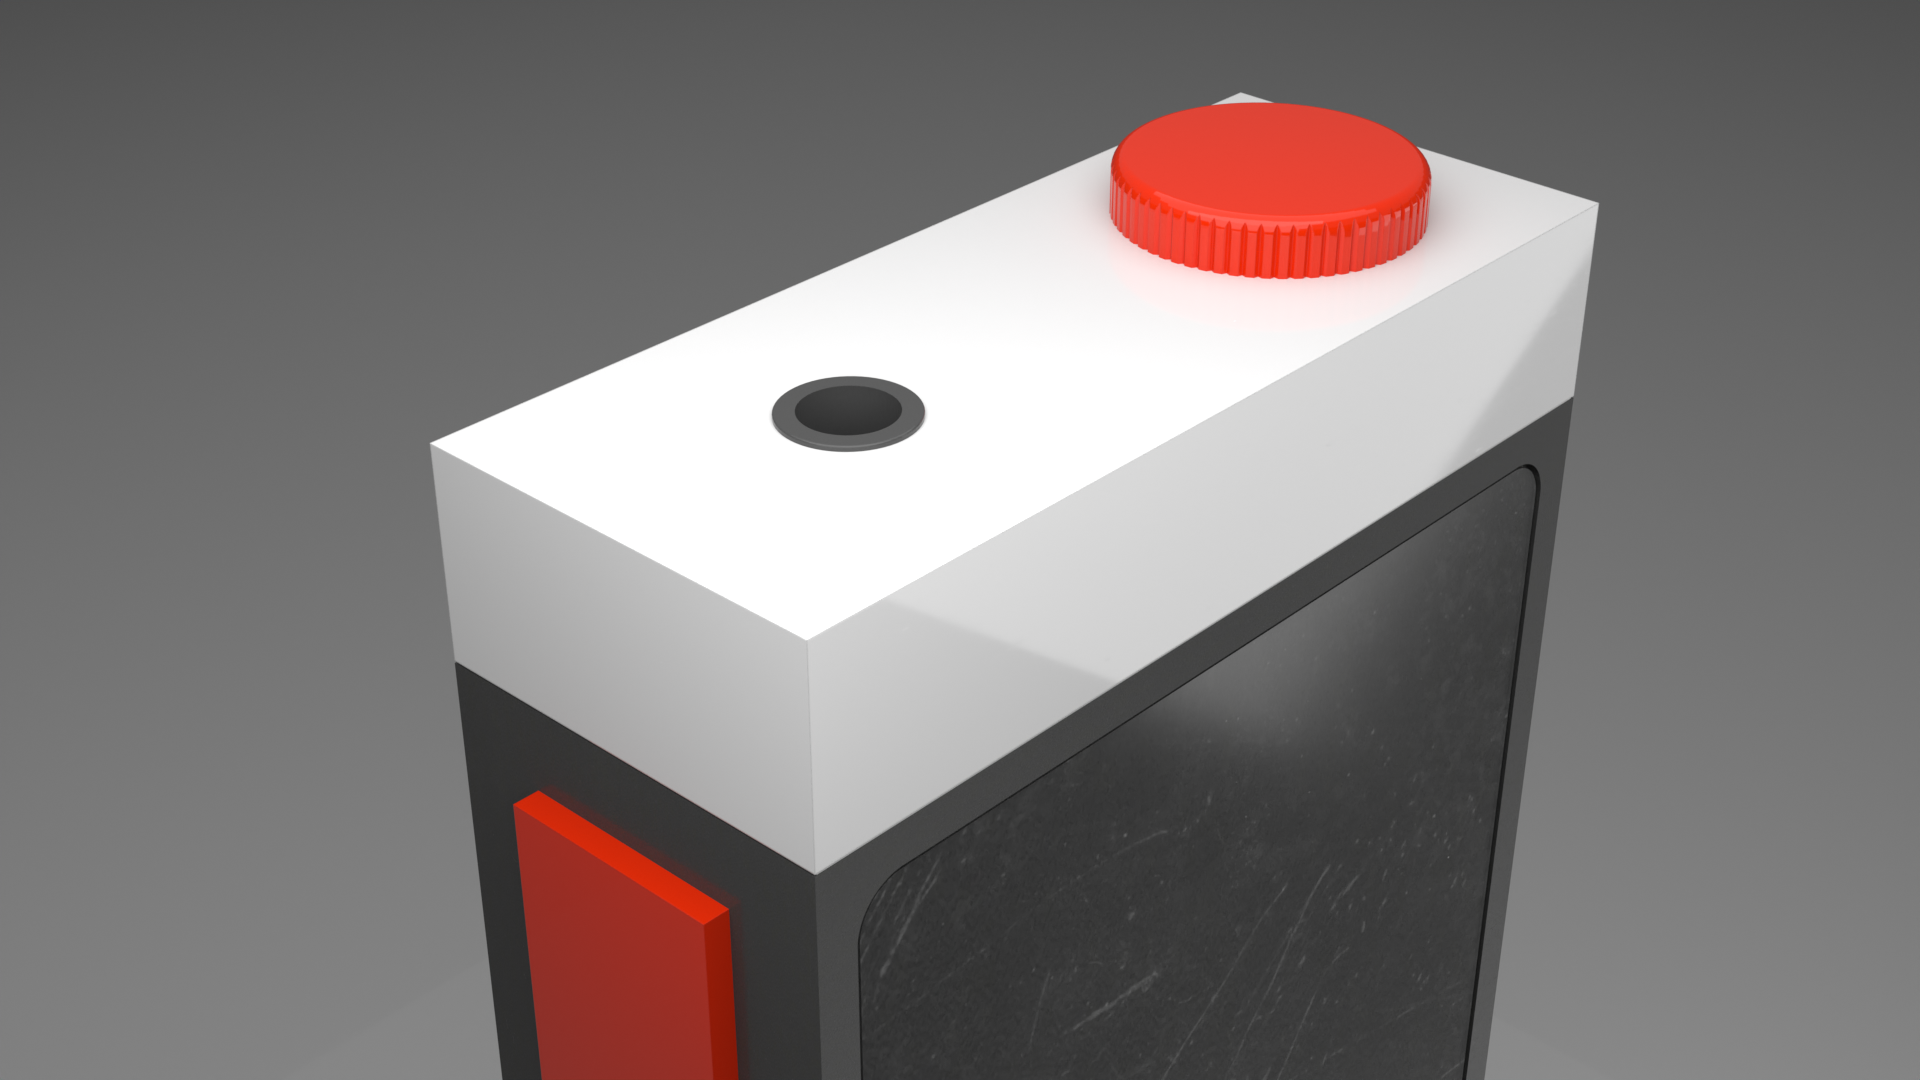
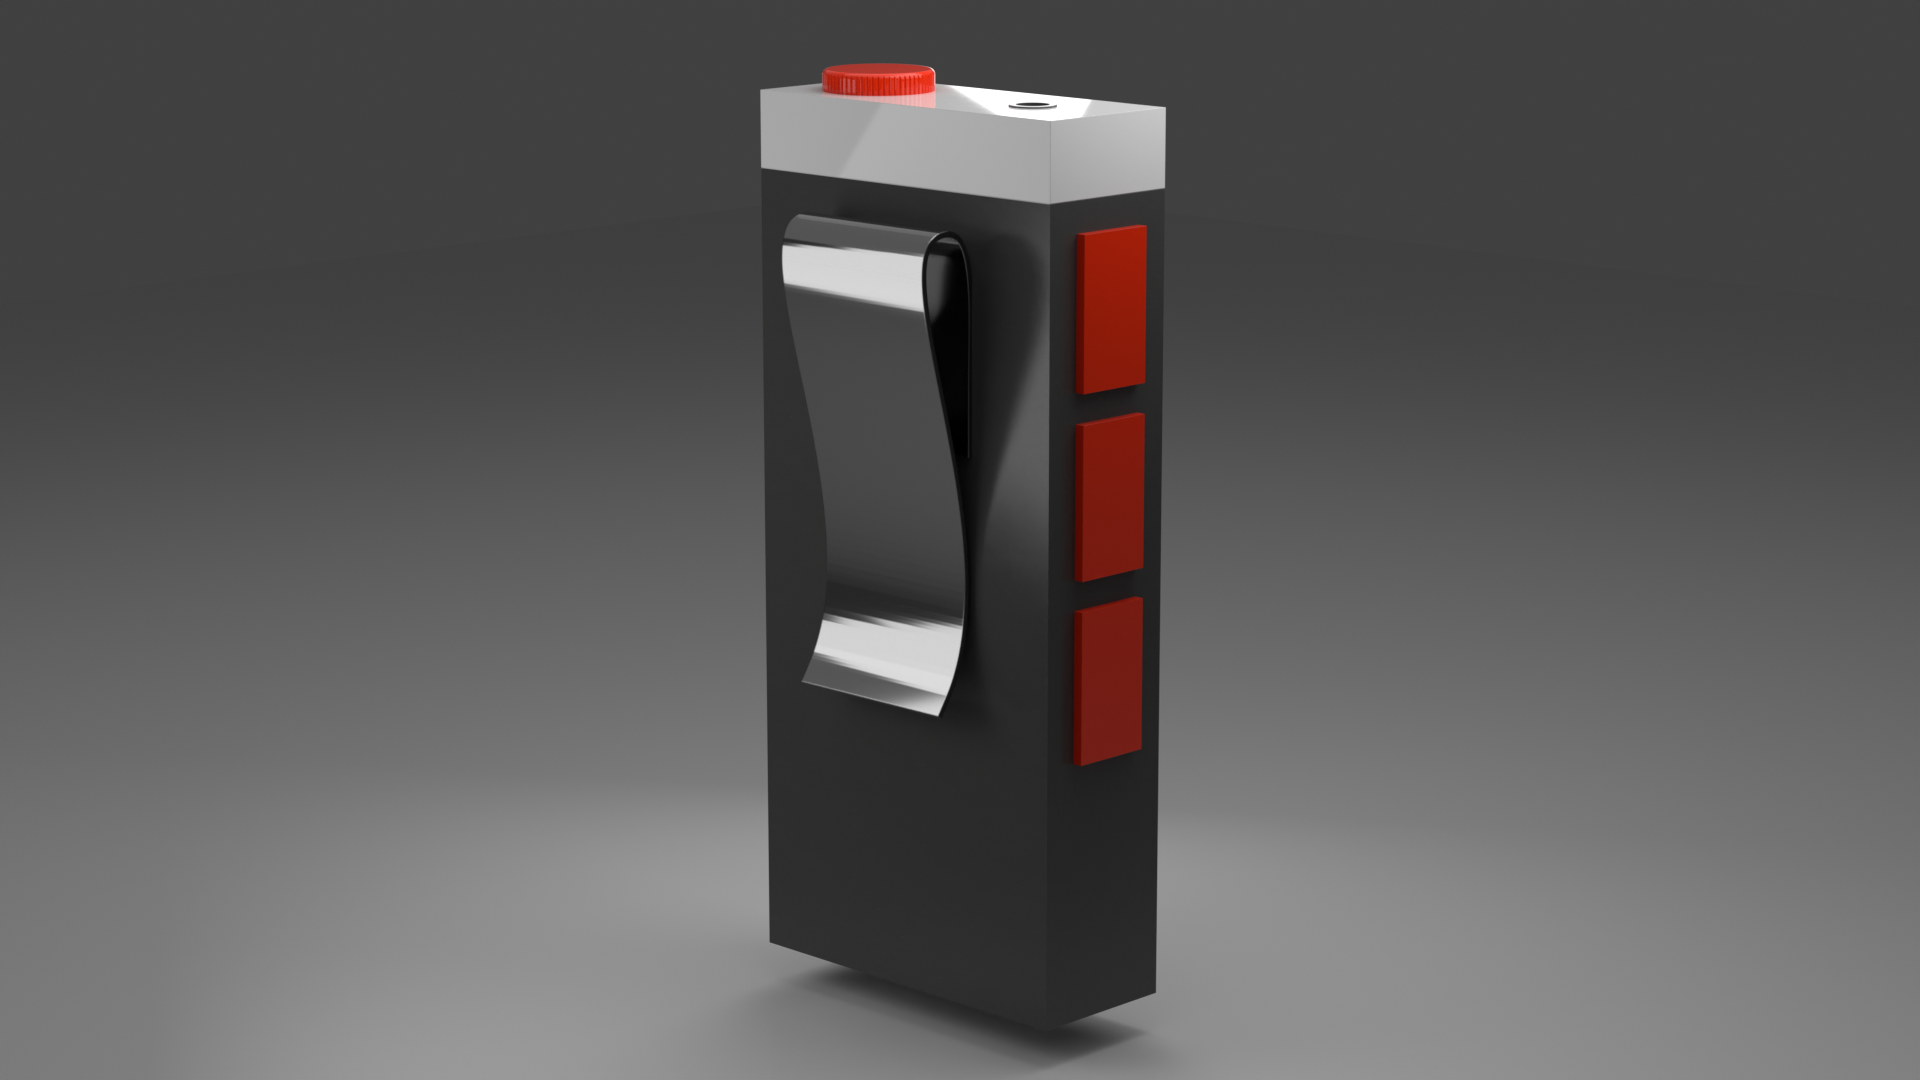
Above are the inital renders, shortly after sketching I wanted to see how some of my design ideas would play out visually so I did some "sketch renders" just to get basic forms down. I also spoke to a industrial designer during this stage and we talked through how to sort of predict how users might come at a product having never seen it before and how to in a way guide them through using the product simply through visual cues and other features. This design was not directly influenced by that designer though, I wanted to practice attacking this idea myself as it is a passion project.
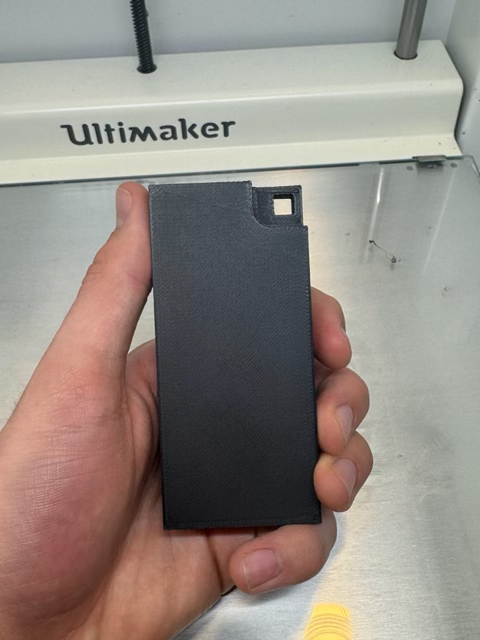
Above is a block I 3d printed to get a feel for the measurements of the player, I also made other blocks all with very slight adjustments before arriving at this one which was the largest I could get it without it feeling odd in the hand, and with a factor included to account for the fact I have large hands so for me it did feel slightly smaller than I'd like
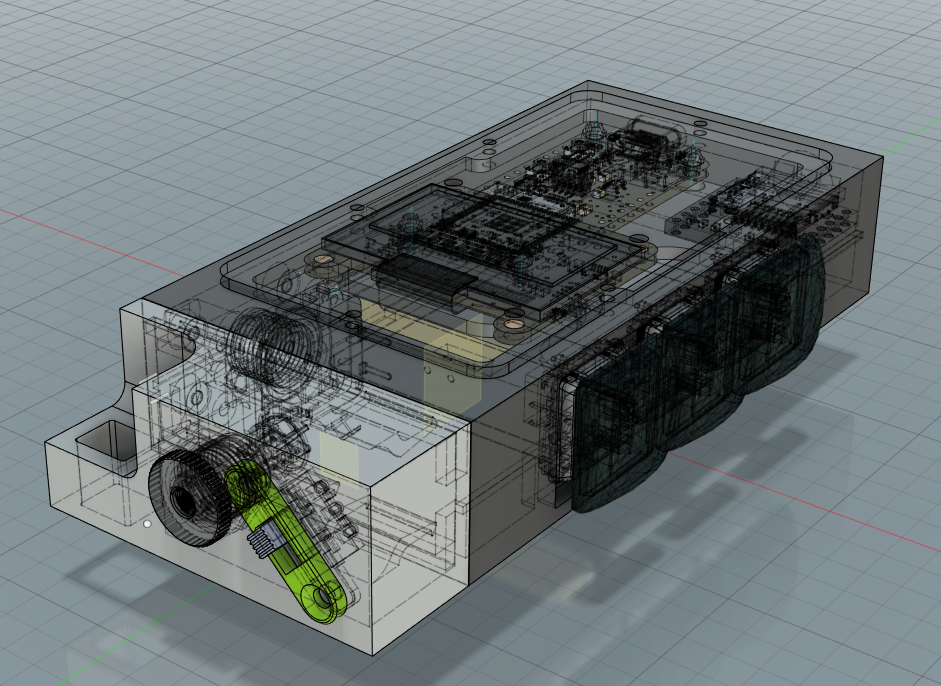
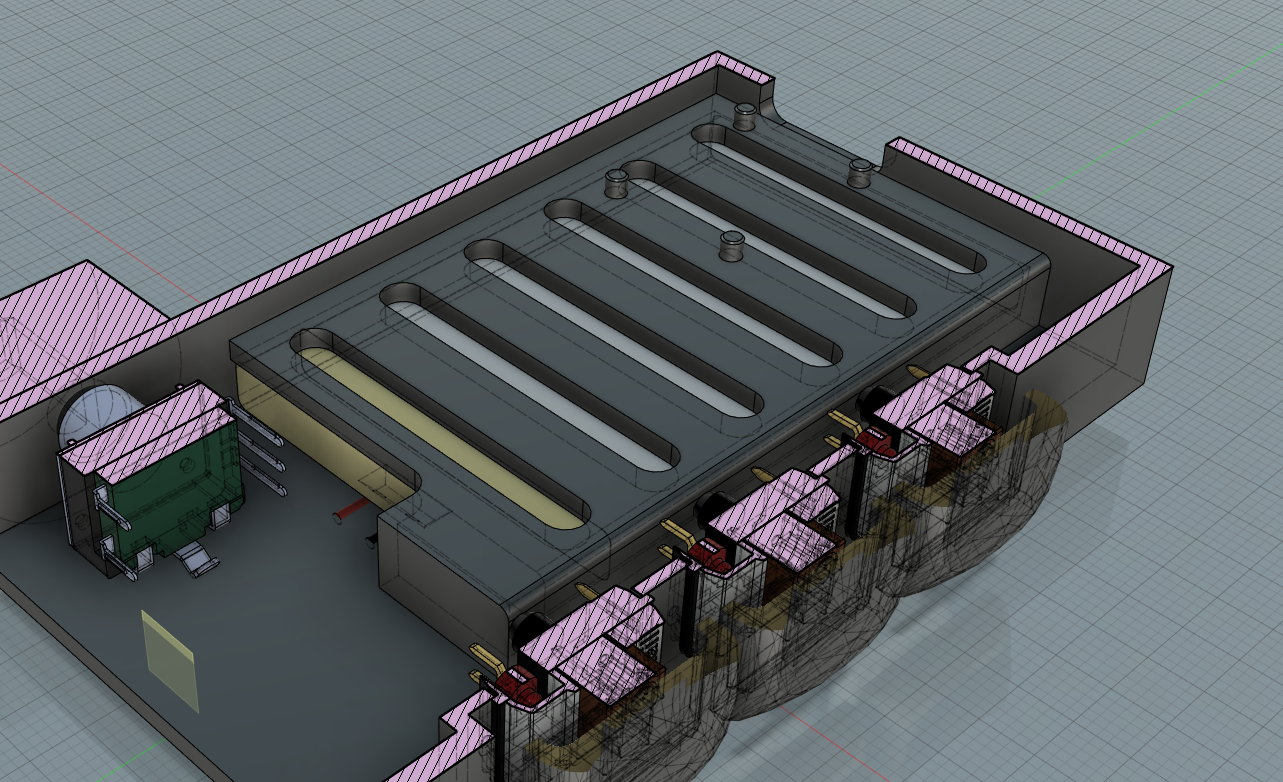
Shown above is the CAD, firstly the full view and secondly a cutaway to show the battery enclosure and internal structure. Here's where I will be covering a lot of the choices I made and why.
Firstly, I wanted this project to be very retro and one of my favorite parts about retro technology is how they showed the internal components, I think it's a cool way to almost celebrate the work that went into a project and even more so I think it motivates engineers to take pride in every aspect of their work, even the internals, because you can't hide anything. For this reason I went with an acrylic front plate which also helped with the assembly as it allowed the screen to come away from the body of the player easily, making repairability (another aspect I wanted to emphasize with this project) more possible. You also may have noted the body of the player is split into two main components, the cap (in white) and the bottle (in black) as I like to call it. This was a design choice made after a lot of deliberation over how I would design the manufacturability of the player, in this design the cap is attached through the use of extremely tight tolerance snaps so that the components can be installed into the cap and bottle seperately, wired together, then the cap can be snapped into place (and removed later for easy repair, though I must say the snaps were far more secure than I originally thought they would be) The internals of the player were designed around a tray which slid along a track to the base of the player, then screwed into place. This tray aligned the ports for the SD card and USB-C charging port while also keeping the internals secure and organized. The buttons on the left edge of the player simply snapped into place, they're actually mechanical keyboard keys I found that I liked the tactile feel of, the encoder on the right edge was secured to a mounting piece which was then installed through the use of screws and standoffs.
There was repetitive modelling and remodelling, testing and more testing that isn't all shown, each choice was made after several mistakes and failures.
The battery enclosure was designed to protect the Li-On battery as they're extremely susceptible to piercing due to their natural expansion and shrinkage. The enclosure was designed to allow for an expansion factor based on the manufacturers datasheet. In original designs I wanted to skip the battery enclosure as it added weight but after further deliberation I made the conclusion that without an enclosure other changes would have to be made to the design that would both affect the ease of usability as well as the weight and other factors.
Renders
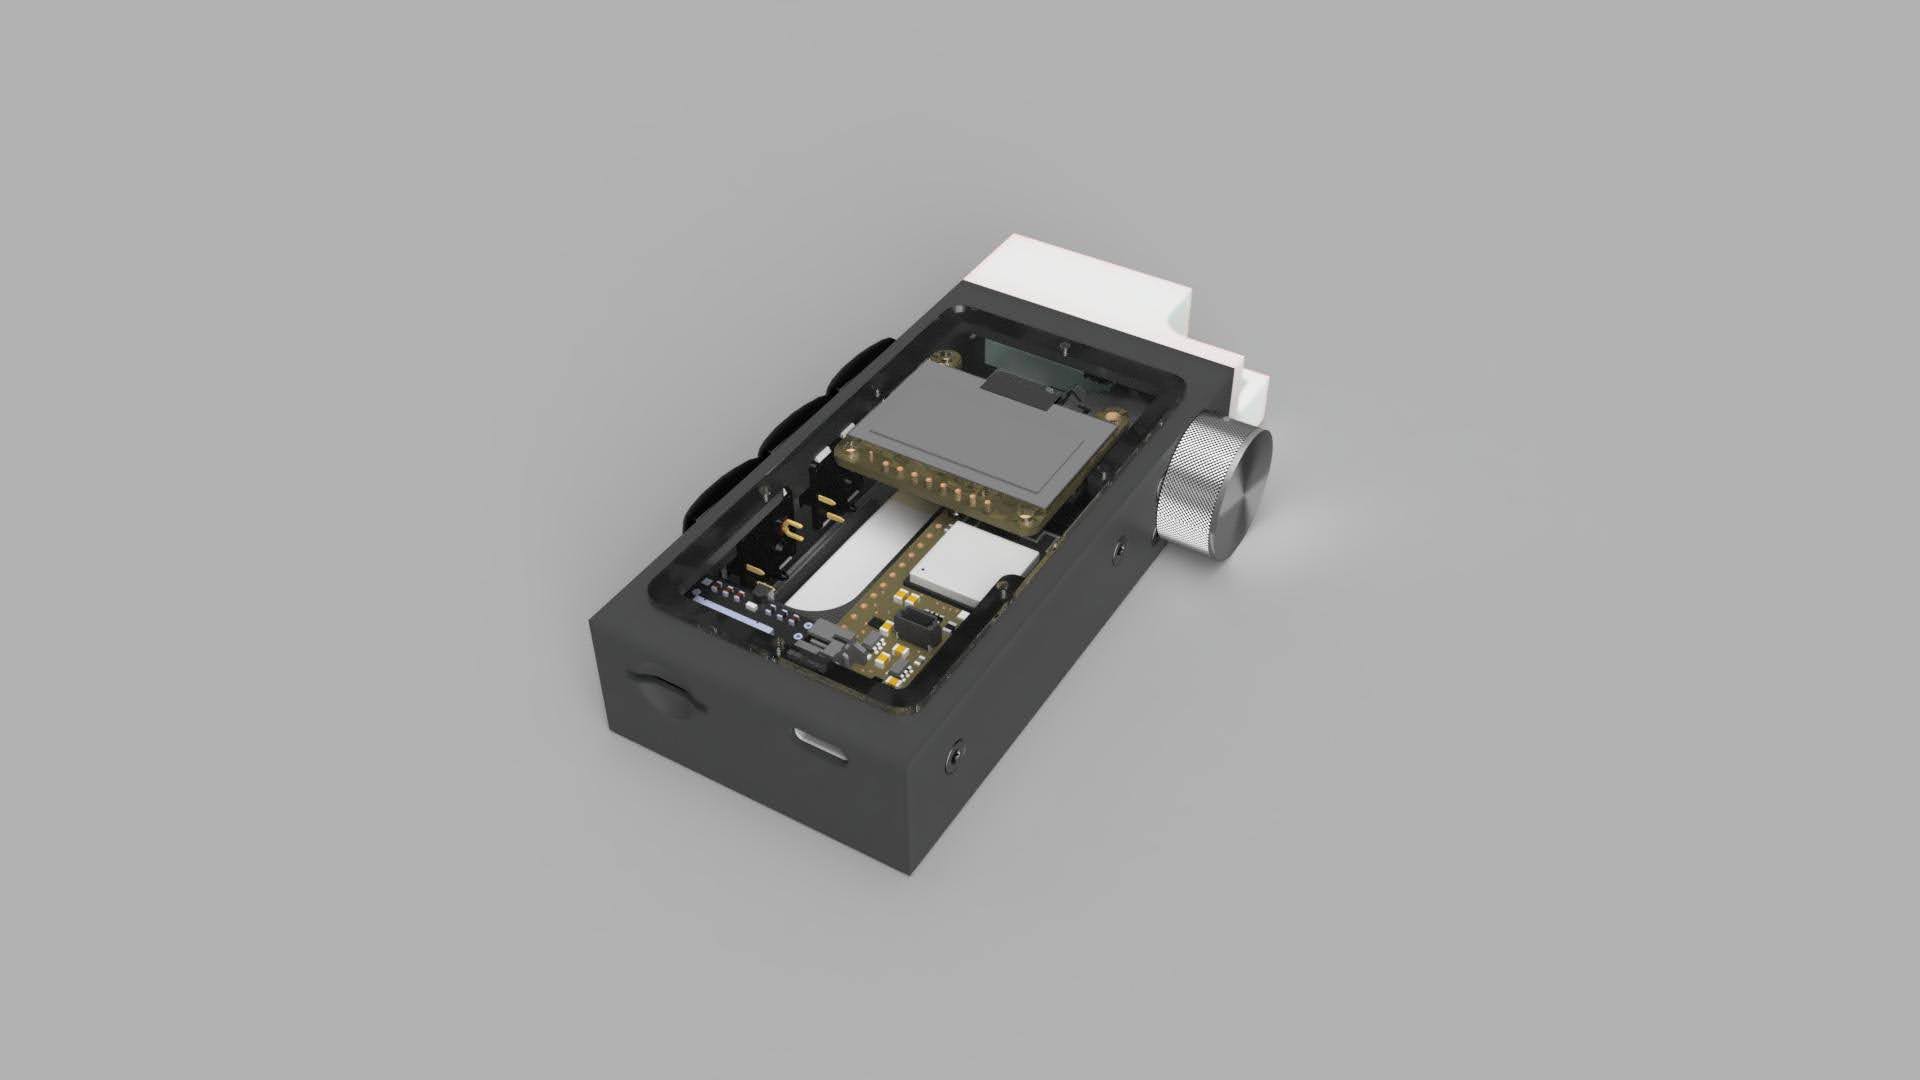
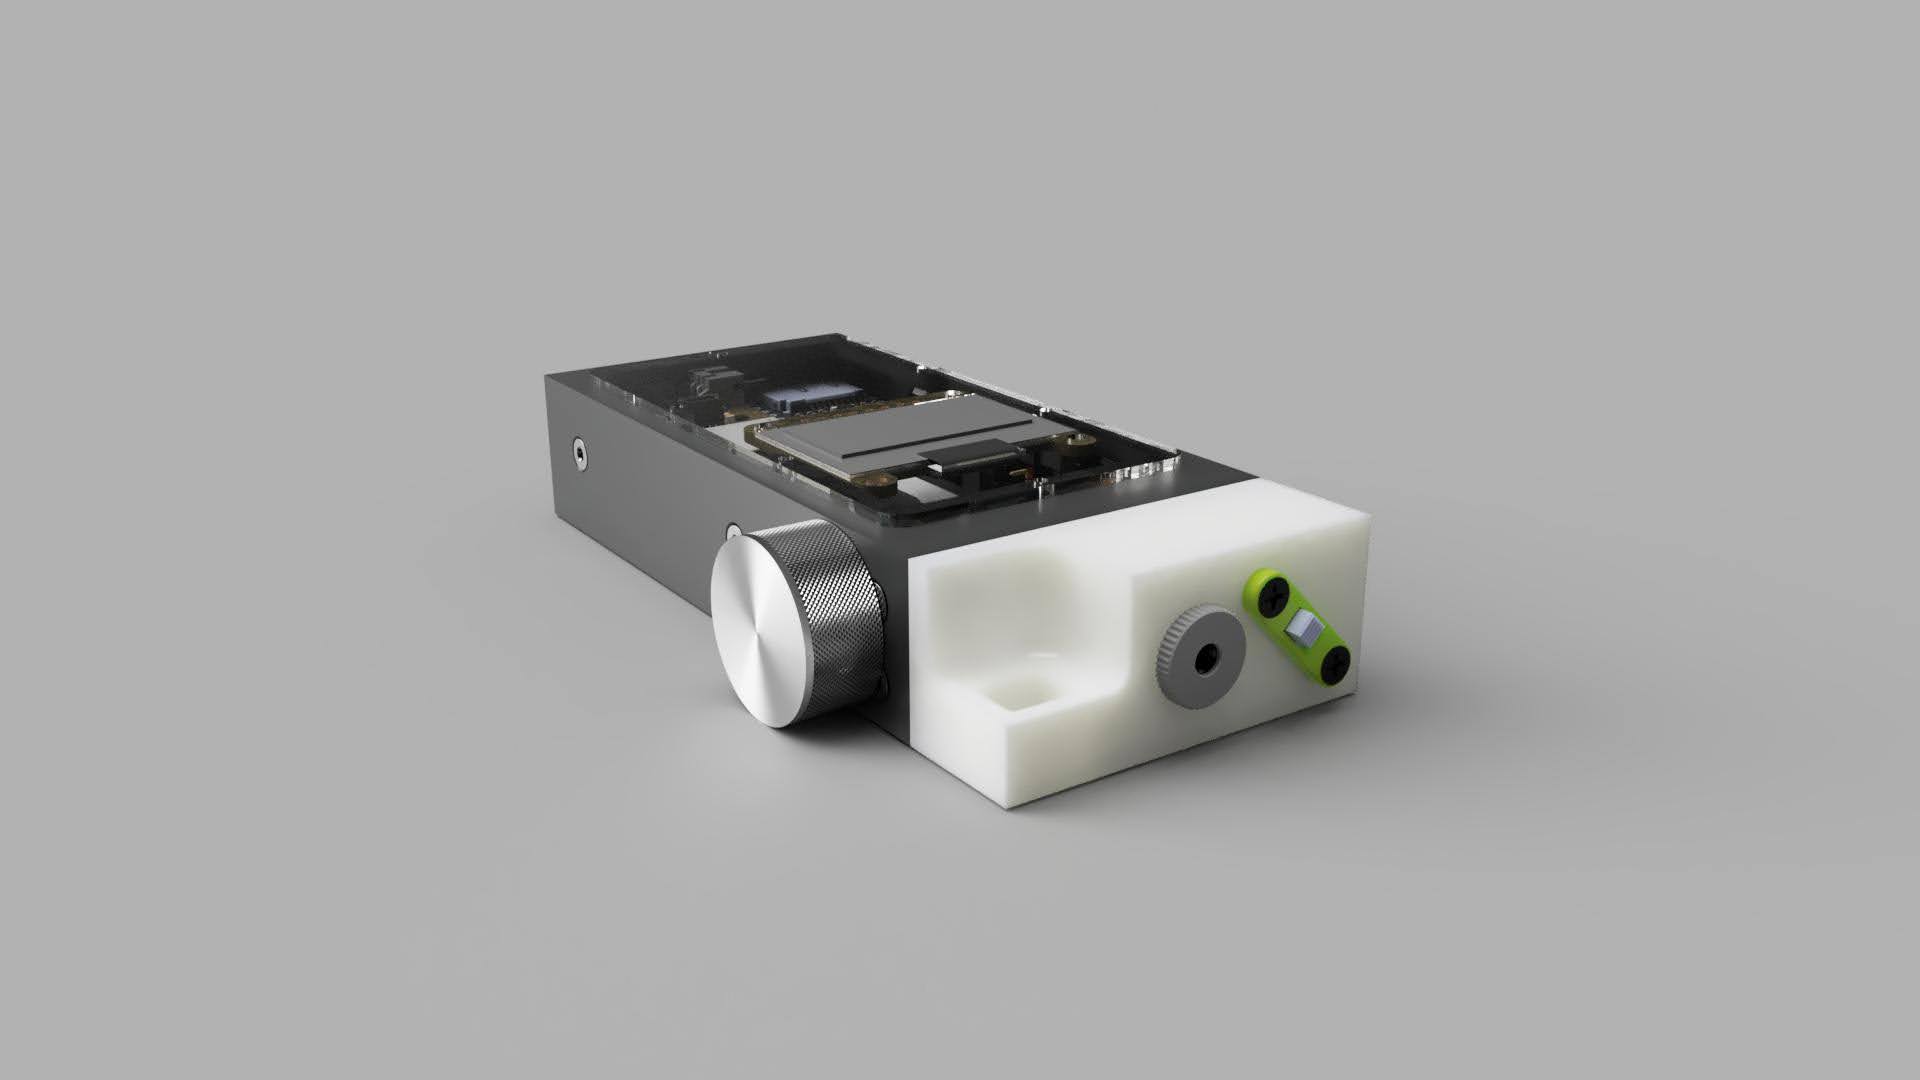
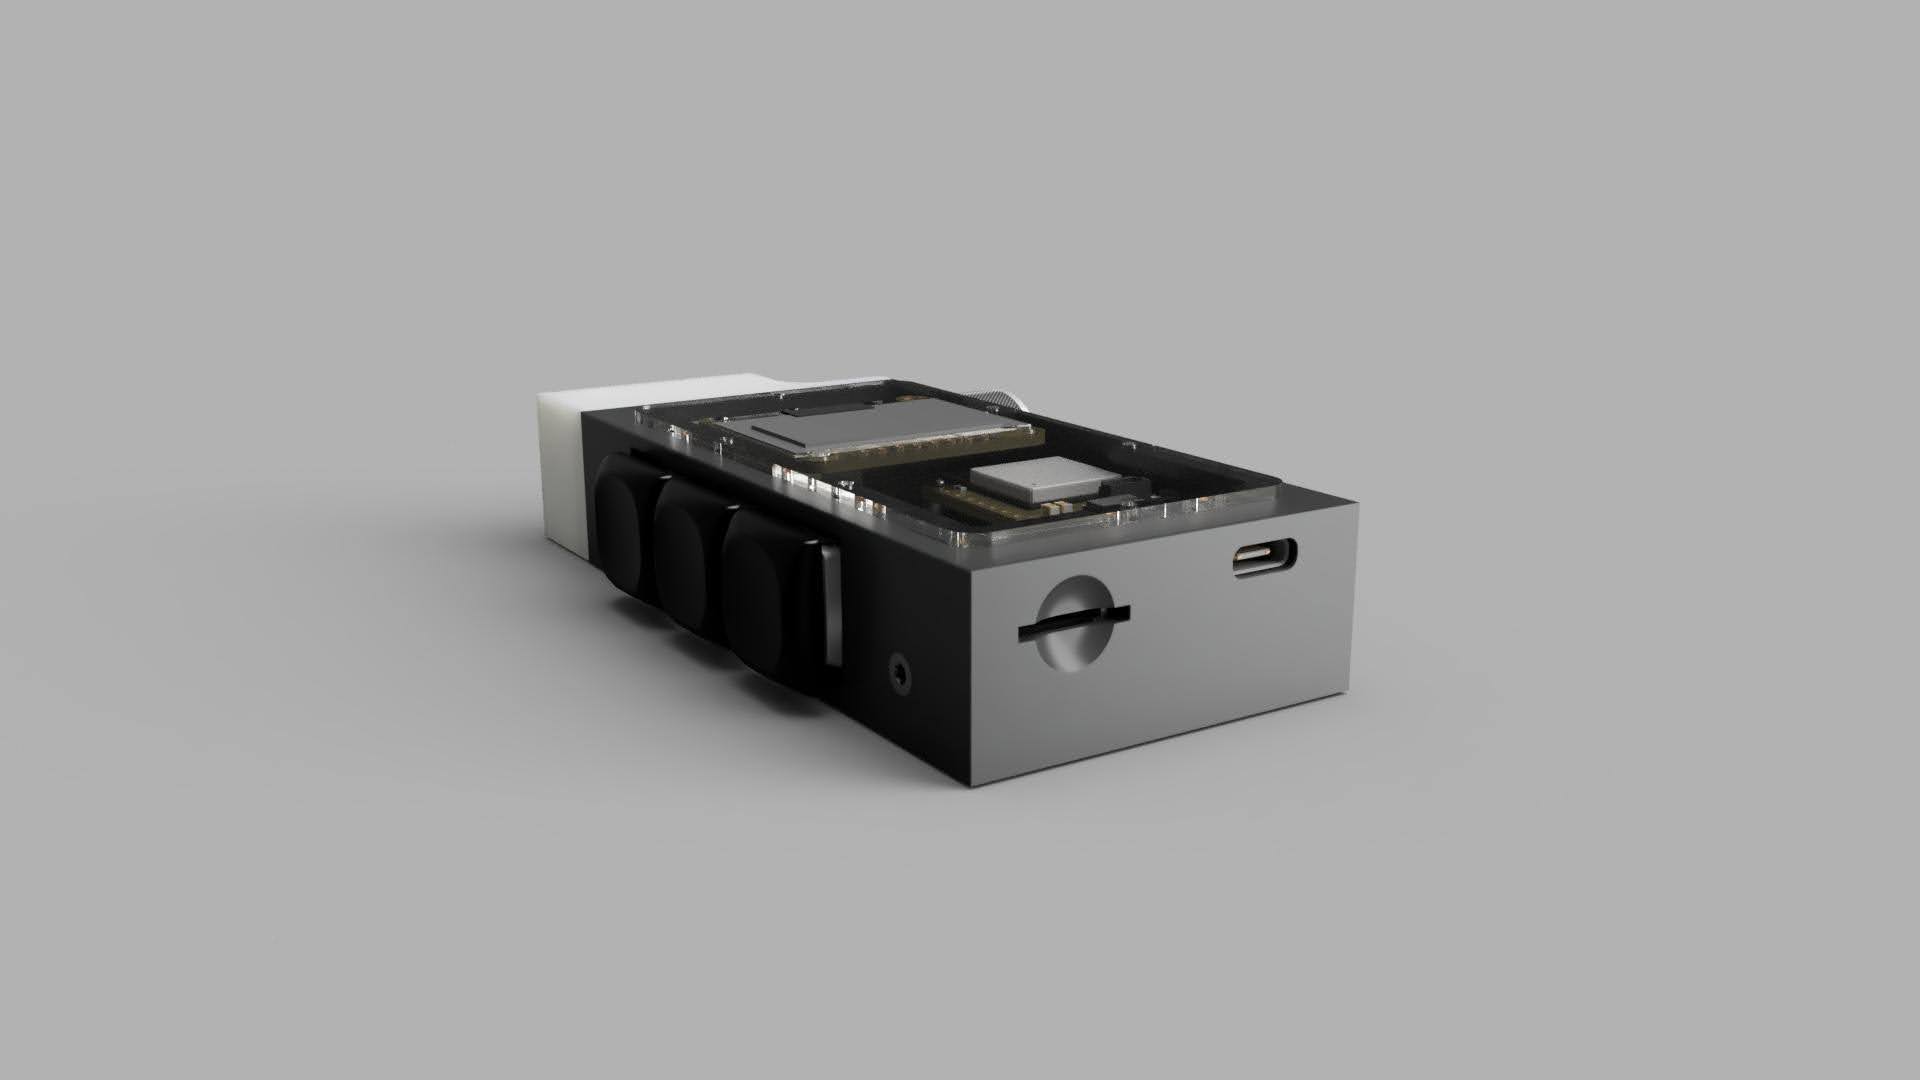
These are the finalized renders, following the CAD design I created several renders to preview how the design would look in real life. These renders were created using Fusion360s built in rendering tools, this stage was very enjoyable for the artist in me, as I played with materials, lighting, and framing. It was my first time creating renders like this so it was an awesome learning experience.
Prototyping
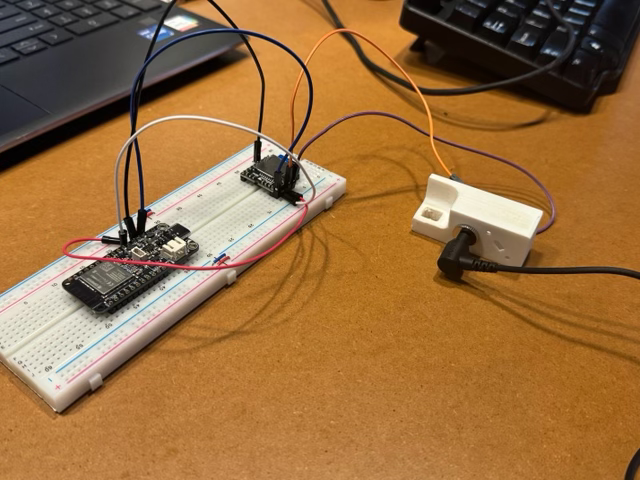
To begin prototyping, I initially did tests of the electrical circuits just to make sure each component worked, which is where we hit some snags. Mainly, the screen I was shipped by the manufacturer was entirely nonfunctional, so even after a lot of tinkering and attempted fixes I had to move forward with the project as they wouldn't ship me a replacement and I didn't have the funds at the time for extra parts, nor the time as I had a deadline of a senior project presentation. Shown below is a picture of the music circuit which was able to play tracks off of the SD card through the aux port which I plugged a pair of headphones into. I 3D printed the rest of the parts, assembled as loosely described in the above 'CAD Design' section, by installing parts to their individual substructures, soldering them together and then bringing each substructure in to connect to the main body. It was during this stage another snag was hit, whilst desoldering the preinstalled headers of the DAC board, I used excessive heat by accident and a component of the board got overcooked (I only realized after the project failed to operate correctly by performing some breakdown and analysis). So then I had to move to the learning stage of prototyping
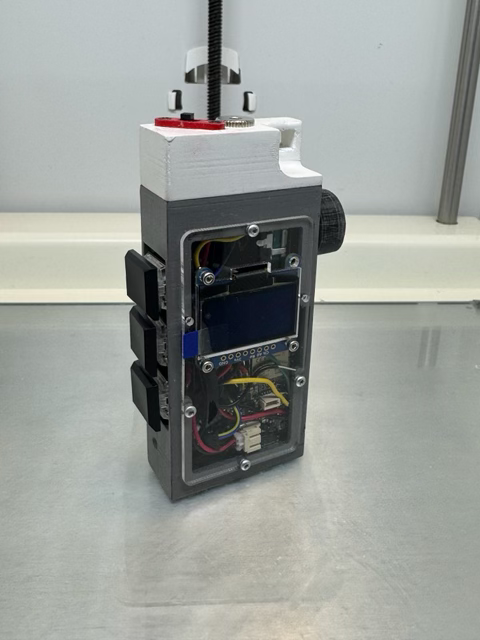
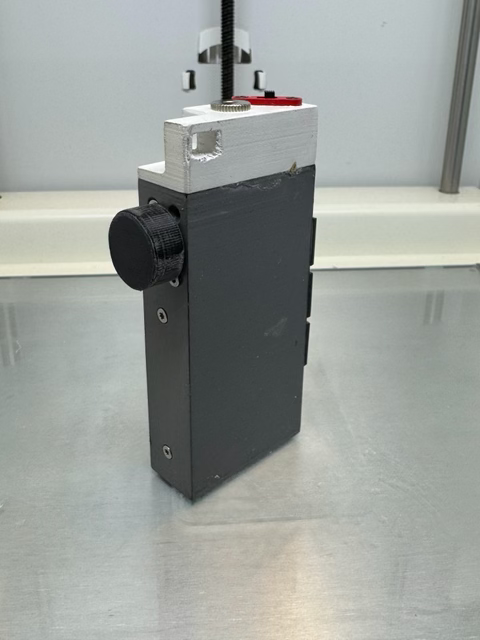
Some of the main conclusions of this first finished prototype, shown below, were that A. I need to practice soldering (which I have since done), but B. I kind of realized that the electronics and internal wiring were veeery bulky and didn't make use of some tricks I didn't learn about until after prototyping, like JCT and other prefabricated connectors, or just designing a custom board. Another thing I learned is that I want the design to be a little slimmer, some feedback I received after polling my peers suggested it looked pretty "bomb like". Overall I want to refine the design greatly going forward to the Mark II, as I will discuss more in detail in the next section.
Where is this project going
So after finishing the initial prototype for my senior project presentation, I did abandon the project temporarily to focus on my summer job and college, largely because the prototype encountered issues during final assembly that would require replacement parts (AKA more money) which discouraged me. I have taken a few cracks at doing some preliminary research for a Mark II, mainly focusing on the brains now as I want this to be a product which has some use. This section of the write up will probably change with time, but this project has been an amazing learning experience and it looks like it will continue to be a learning experience.